Earth – MicroSplat
MicroSplat
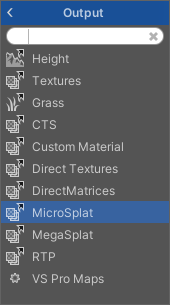
Create a Microsplay output object on your MapMagic Graph. Drag the created Material from above into the field for it.
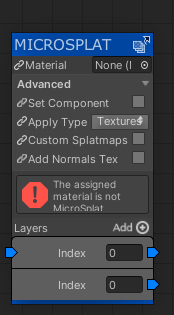
A common error is that you will have a message indicating that you have a non MicroSplat material in usage. In order for this to properly work, you will need to make sure that the first work is MicroSplat in the name of the material.
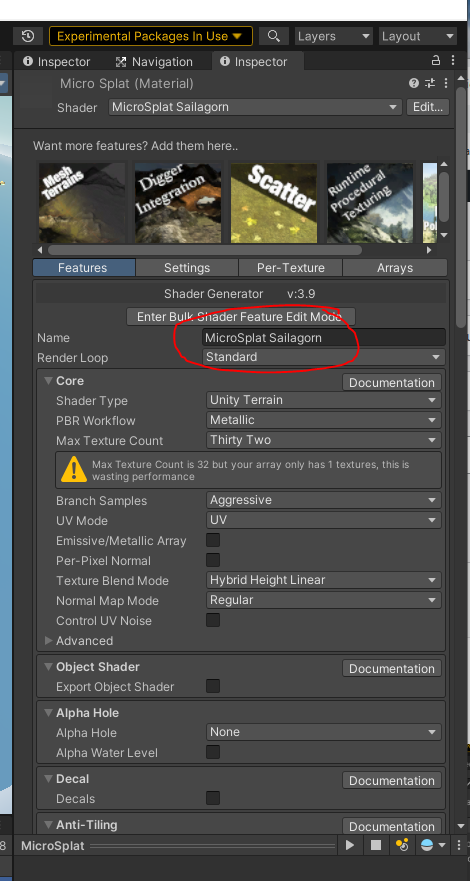
The Material name here is MicroSplat and then the name of the map it’s for.
Add Textures
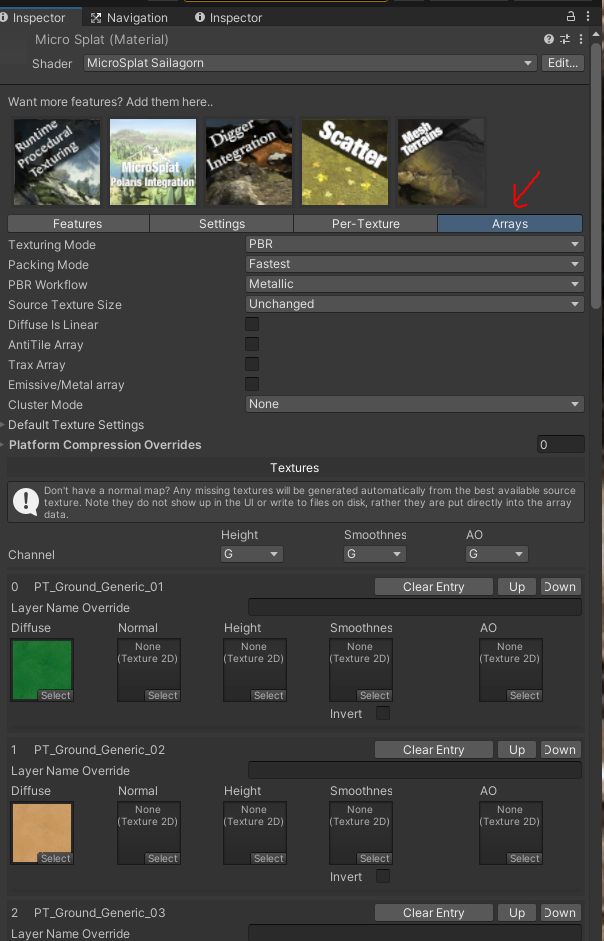
In order for the textures to be available in the MapMagic system via the MicroSplat shader, we will need to define the textures we will be using. Fill out a many textures for each as you are able to. Each texture you apply will make it look better; however, it will generate textures it needs from the ones you provide.
Select Textures
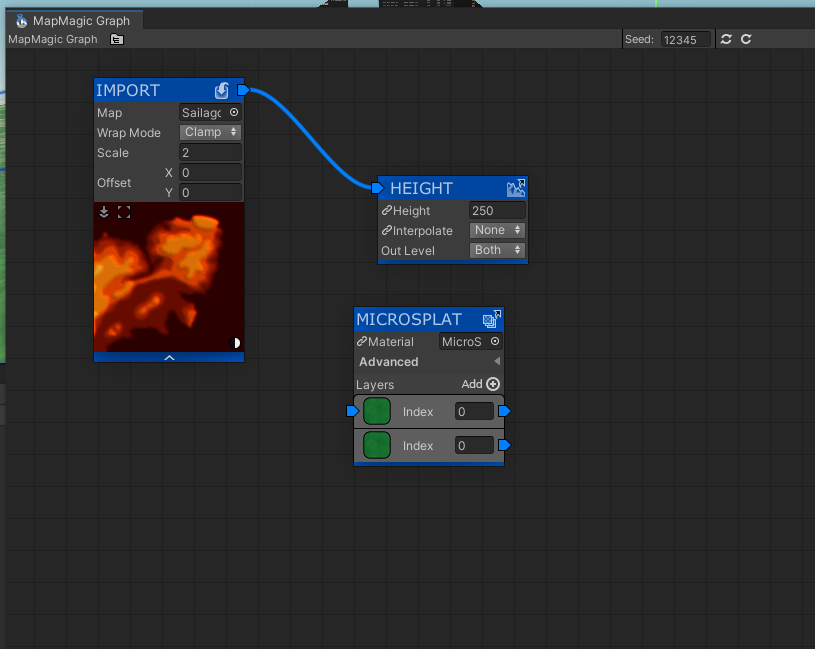
In MapMagic you can now select the specific textures for the MicroSplat area that you are working on. These will be used as you build out your map structure.
Shader Features
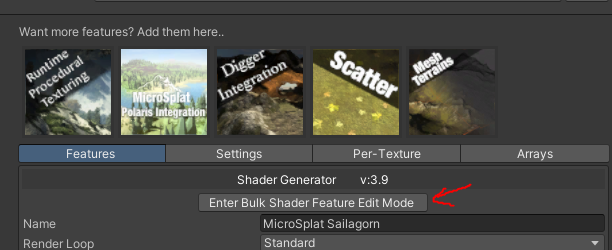
Enter Bulk Shader Feature Edit mode and make all of your changes and then edit. The shader will recompile for each item you click, so if you are working on multiple items, then make sure to enter and exit this mode to make your changes.
Streams and Lava
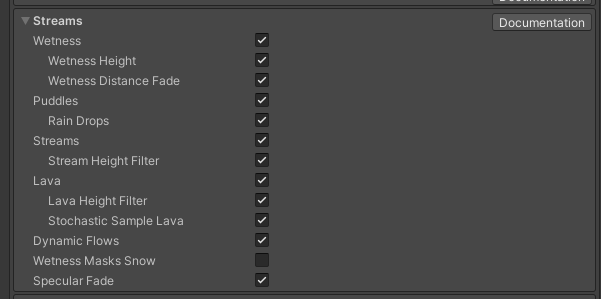
Enable each of the options you would like to have available. Rivers and Lava can and will affect the wetness and heat of the rocks around them, allowing for environment interactions.
Snow
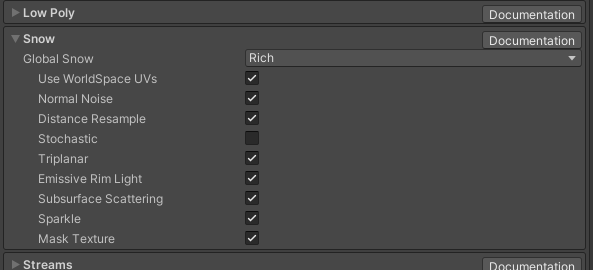
The settings that should be applied to the snow. Adjust this as needed for your games requirements.
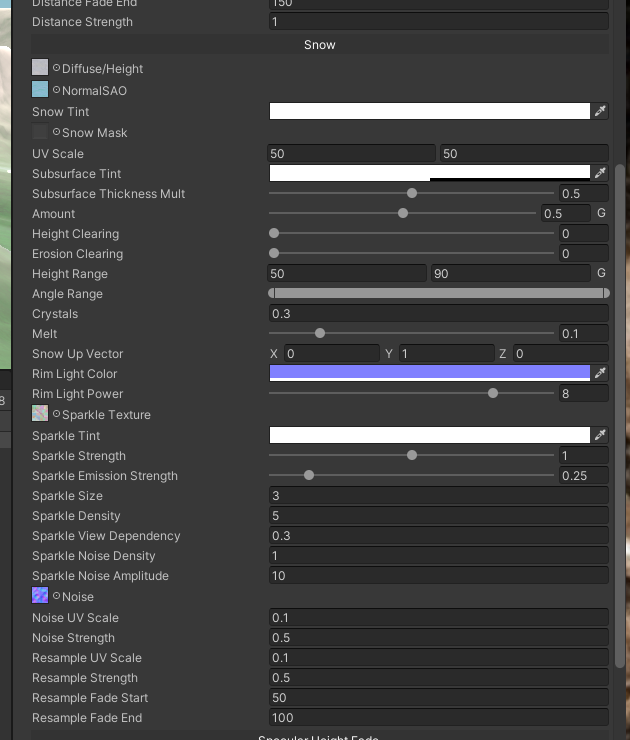
The Height Range and the Amount are the two things to pay attention on this screen. This controls where on the terrain it is present. The amount is how much snow is currently present on the terrain.
Vegetation Studio Pro

At the bottom of the shader features, enable these options for Vegetation Studio.