Atavism Basic Character
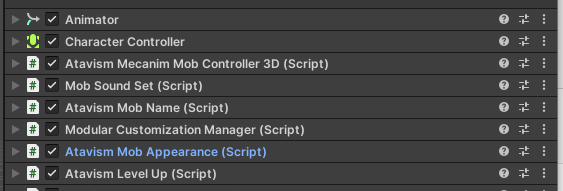
The basic Atavism character requires a few items for the system to function properly. We will go over each of these settings below.
Animator
See the Unity Docs: https://docs.unity3d.com/ScriptReference/Animator.html
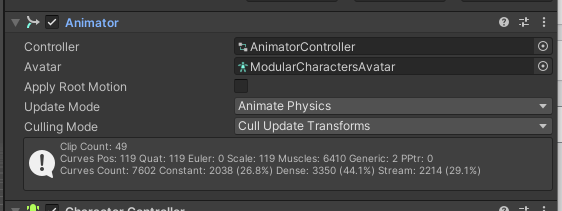
The Animator is the control center of the characters movement and contains all of the settings below.
Controller
See the Unity Docs: https://docs.unity3d.com/Manual/class-AnimatorController.html
An animator is required for the model to properly animate on the Unity client. In this case, we will choose the Animator controller that comes with Atavism and change this out later with a custom one specifically for this model.
Avatar
See the Unity Docs: https://docs.unity3d.com/ScriptReference/Avatar.html
This is the interface between the prefab and the model and tells Unity how to control the model. This will contain the reference points in the model that correspond with the skeleton rig. Unity will create this in the model once it has been set to the Humanoid option on the models import screen.
Apply Root Motion
See the Unity Docs: https://docs.unity3d.com/Manual/RootMotion.html
Root motion ties the actual movement of the character to the movement of the animation. This makes this look hyper realistic and get’s rid of the sliding effect when characters are moving slower or faster then the actual speed of the animation.
For Atavism you want to have the root motion disabled.
Update Mode
See the Unity Docs: https://docs.unity3d.com/ScriptReference/AnimatorUpdateMode.html
This allows you to select when the Animator updates, and which timescale it should use.
Culling Mode
See the Unity Docs: https://docs.unity3d.com/ScriptReference/AnimatorCullingMode.html
Culling mode you can choose for animations. Always animated, disable retarget, transform write and IK Handling when not visible or cull completely. This is a performance setting and could have impacts if changed from the default of Always Animate. Verify the requirements you have and test before putting into production.
Character Controller
See the Unity Docs: https://docs.unity3d.com/Manual/class-CharacterController.html
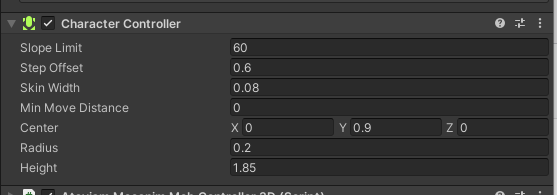
The character controller handles several things for the motion aspects of your character. This does not support physics, but allows the character to interact with the environment in some aspects.
Slope Limit
This is how steep a slope your character will be able to go up. Typically a 45 or 50 degree slope is considered to be the correct angle.
Step Offset
How high of a step the character will step up on, not greater then the characters height.
Skin Width
How thick the skin of this object is. This is for collision and how deep another collider can penetrate this. Higher numbers reduce jitter, lower causes characters to get stuck. A good value is 10% of the radius.
Min Move Distance
How far it is required for the player to move, before the character actually moves.
Center
The center of the object where the capsule collider is created, this does not affect how the character pivots.
Radius
The width of the capsule collider around the player.
Height
The characters Capsule Collider height, changing this will scale the collider along the Y access, in positive and negative directions.
Atavism Mecanim Mob Controller 3d
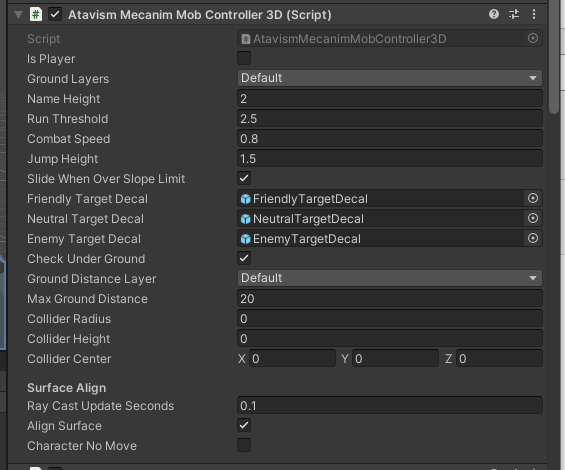
Is Player
Is this a player character, does not need to be set as this will be automatically set by the client processes in Unity.
Ground Layers
Set to the ground layers layer in all scenes. This is used by the system to determine if the mob is above or below the surface and adjust it accordingly.
Name Height
This is used by the system to determine where the mobs UI name will hover.
Run Threshold
This is the speed threshold, exceeding this will cause the animator on this character to trigger the run animation.
Combat Speed
This is the value the system will adjust the characters speed by when in combat.
Jump Height
Slide when over slope limit
This causes the player to slide along the ground if they are on a slope where they are over the slope angle limit wher ethey could not normally climb. If sliding (and it’s allowed), or if we’re on an object tagged “Slide”, get a vector pointing down the slope we’re on.
Target Decals
These are the decals that appear on the ground around the selected character and display enemy, friendly or neutral stance towards the player.
Check Under Ground
Tells the system if it should attempt to detect if this character is under ground or ignore it’s state.
Ground Distance layer
Default layers or your own layer for detecting how far away the ground is from the character.
Max Ground Distance
How far away it will look for the ground distance layer.
Collider Radius
The width of the capsule collider around the player. This should match the settings on the Character Controller.
Collider Height
The characters Capsule Collider height, changing this will scale the collider along the Y access, in positive and negative directions. This should match the settings on the Character Controller.
Collider Center
The center of the object where the capsule collider is created, this does not affect how the character pivots. This should match the settings on the Character Controller.
Raycast Update Seconds
How often it attempts to align the mob to the surface in seconds.
Align Surface
Should this character attempt to align to the surface.
Character No Move
Do not allow the character to move.
Mob Sound Set

This system is the sound event handler for your mobs, causing the mobs to emit these sounds during certain types of events.
Foreach event type there is a sound set for male and female. Filling out these event types with sounds for this will cause the mob to activate the sounds on the event trigger.
Atavism Mob Name
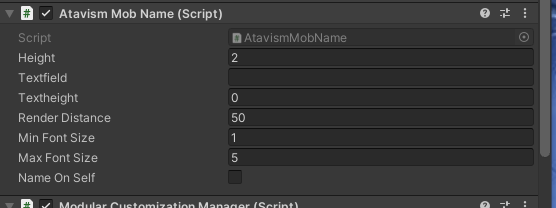
This script simply needs to be enable on the mob. You can adjust settings for where the item name will appear based on the mob size. Larger size mobs will need larger height and render distance.
Modular Customization Manager
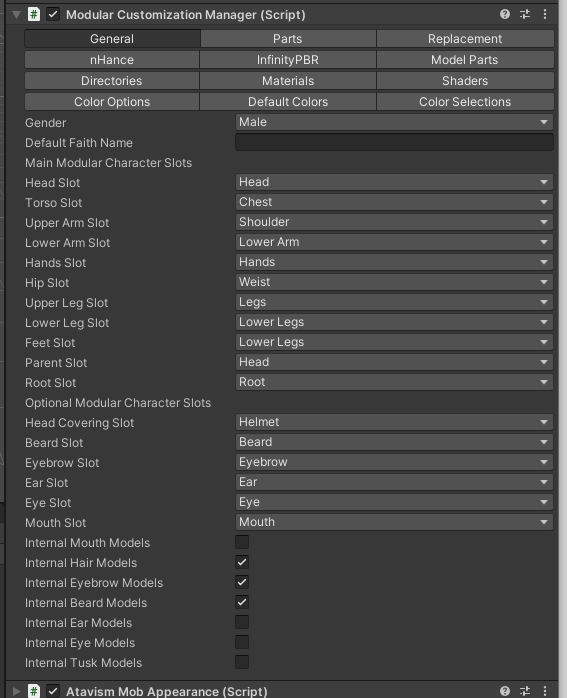
This is the script this course is based on, make sure you follow along with the course where we go over each of these settings.
Atavism Mob Appearance

Please see the lesson this for a complete guide: Atavism Mob Appearance
Atavism Level Up (optional)

This script just needs to be enabled on the mob. There are no settings for this.
Atavism IK Handler (optional)
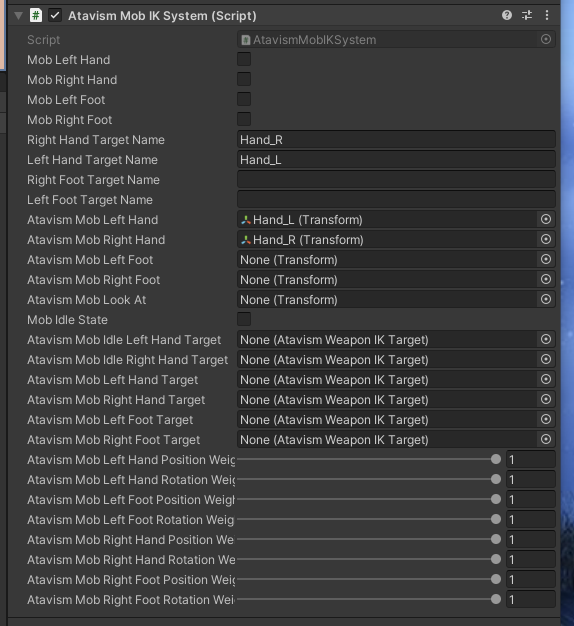
This is an Optional Script but will give your character some improvements in the animations when utilizing the IK handling system. This will allow feet and hands to be properly positioned on various items. See the Course on the Atavism IK Handling on how to use it.