
Modular Character Customization System
Atavism Edition 0.7.4.7
Created by TheVisad @ HNGamers
This install is obsolete and just here for the history of the documentation. Users may always use this version of they are on an older version of Atavism prior to X.5.
Modular Downloads
https://www.dropbox.com/sh/fo0ph57lhpo3a94/AABbeAD2SVwplUZ2Ck_NXSFya?dl=0
Introduction
Welcome to the Atavism Modular Character Customisation designed to handle all of your modular character requirements. This document will attempt to highlight some of the features of the system. This system should support any modular system out there with a few simple steps.
This document is a WIP!
License
Attribution-NoDerivs CC BY-ND
https://creativecommons.org/licenses/by-nd/4.0/legalcode
https://creativecommons.org/licenses/by-nd/4.0/
In addition to the above license which allows Commercial use, the Commons Clause is also applied.
Unless otherwise specified all software, guides and fall under these licenses.
Document History
| Date | Revision | Author |
| 10/18/2020 | Original Release | TheVisad |
| 10/27/2020 | Synty Characters | TheVisad |
| 10/29/2020 | Various Updates | TheVisad |
| 01/08/2021 | Added Color Selector | TheVisad |
| 01/12/2021 | Modular-Modular? | TheVisad |
| 3/29/20201 | Massive Cleanup | TheVisad |
Video Guides
https://www.youtube.com/watch?v=L4GnkJb-NZI
Supported Features
- Skinned mesh character swapping
- Storing and retrieving character Blendshapes
- Storing and retrieving character color schemes at creation
- Storing and retrieving equipment color schemes at creation
- Replacing the shaders and materials on the models at runtime
- Utilizing internal or external models for character customization
- Supports head, torso, upper, lower arm and legs, hip and hand model swapping
- Stores and sets color defaults to the characters
- Modular swapping of Modular characters
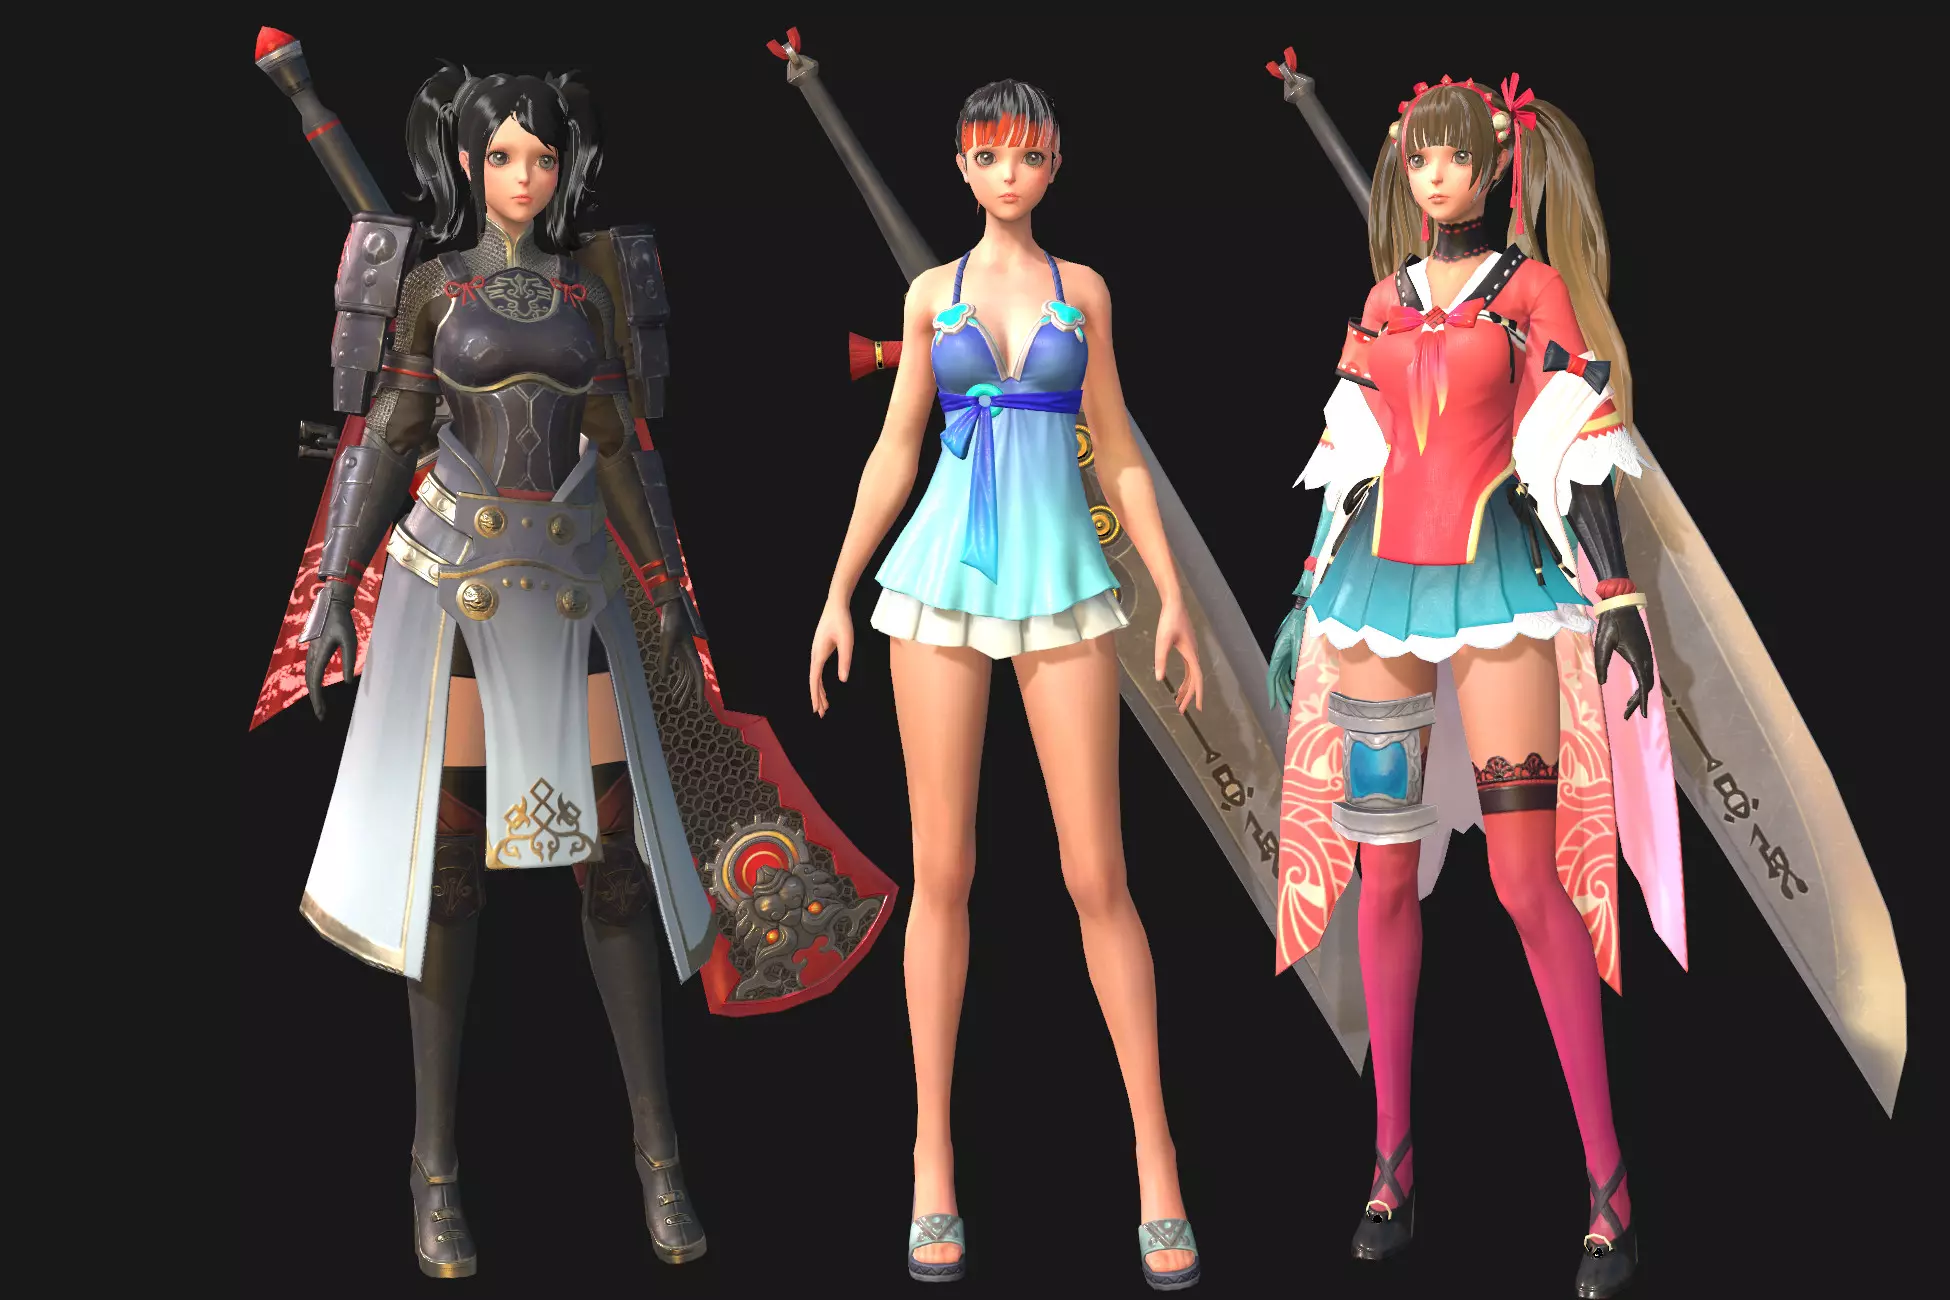
Character’s currently supported
- Synty Modular Character
- Polytope Modular Character
- Meshtint Modular Character
- The Girls Modular Character
- Synty characters – the entire line as selectable options
- Infinity PBR blend shape characters
- More
Menu System
Starting in 0.6.2 a new menu system was added to facilitate the import and access to all addons for the system.
Welcome Page
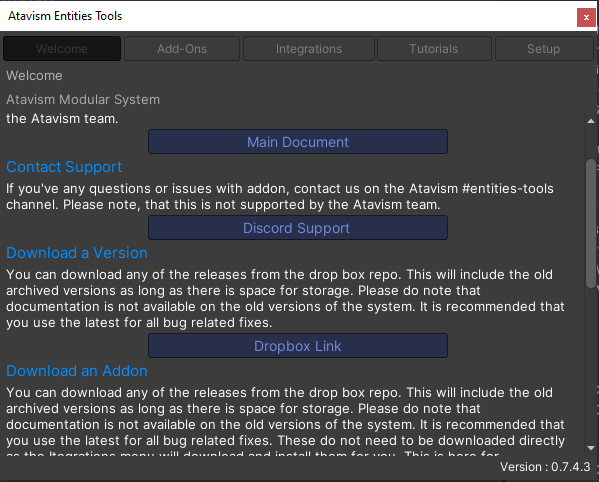
The welcome page has a few options to support the addon, access the dropbox files directly, and other information.
Add-Ons Page
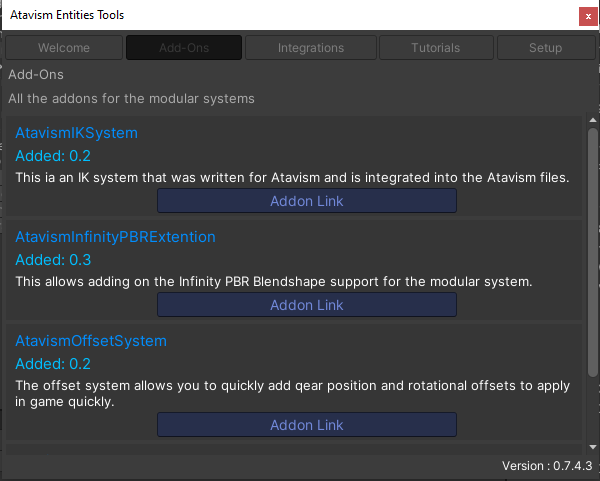
This page provides all of the addons that are specifically for the modular system. These addons extend the functionality and provide IK handling, Infinity PBR support, a new offset system to handle your prefabs.
Integrations Page
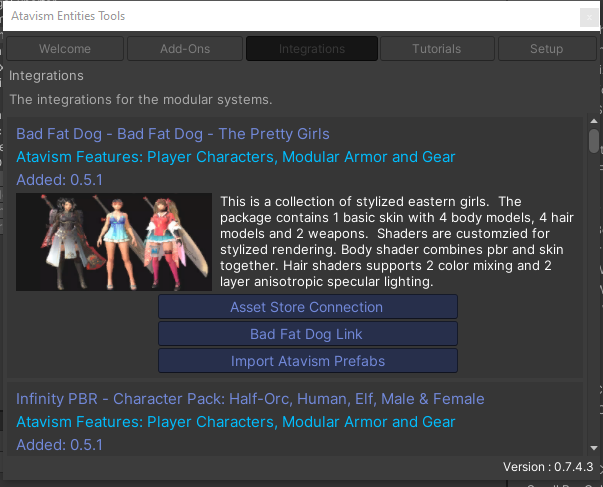
This page shows all of the various integrations from other content creators, clicking the import Atavism Prefabs button with download and import the prefabs for that particular model set.
Tutorials Page
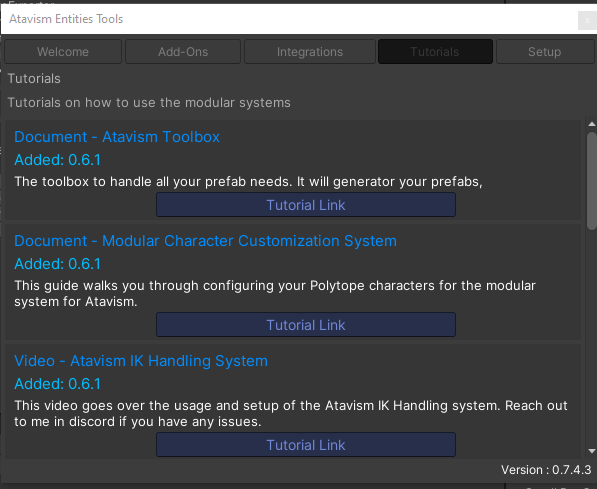
This page contains the various information about the addon itself, how to use the various parts and functionality. These go directly to the documents themselves for quick access.
Setup Page
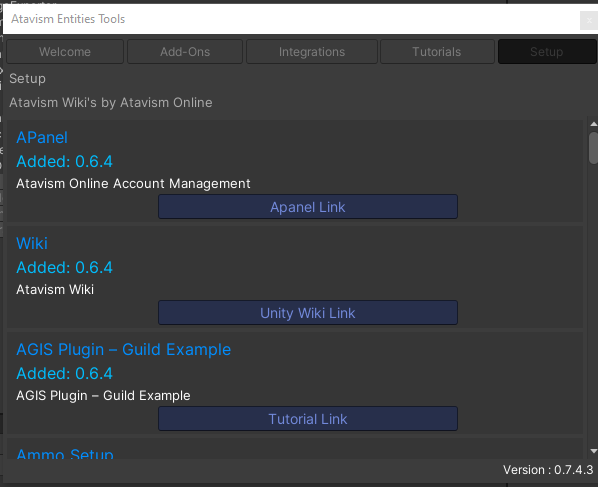
This is a list of all known atavism Wiki and tutorials made by Atavism, other members and myself. This is for quick access to all of the items as needed.
Character Selection Scene
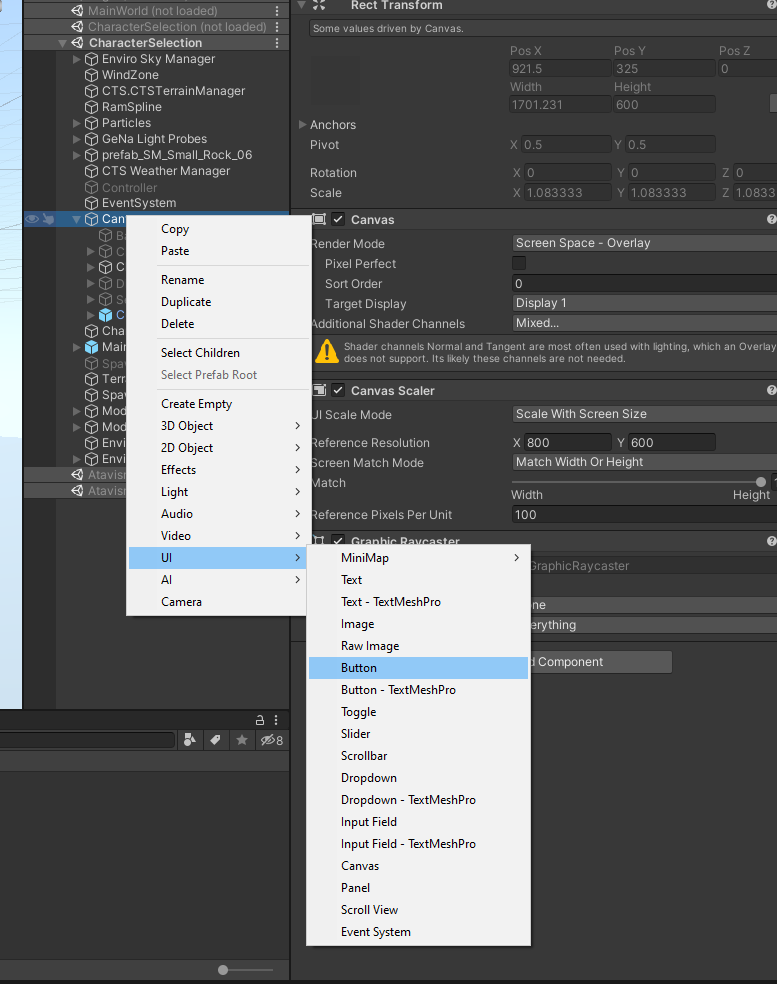
Starting with 0.4.4 there are multiple character selection screens provided for the individual characters. This process will document the requirements to set up your own scene. Once you install the add on the following will be added for the color system. It is not needed to fill out unless you want to be able to change the color. It will look like this upon import.
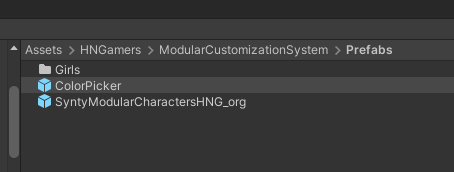
The color picker prefab is located here and can be dragged into the scene to create a new color picker object.
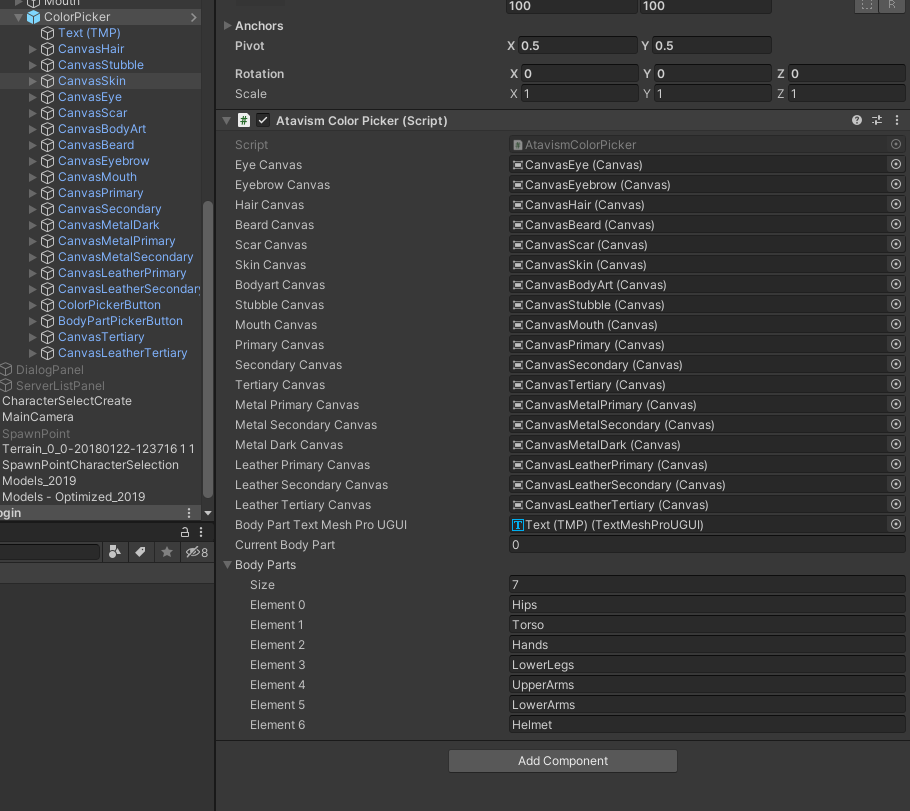
The color picker is predefined with the settings needed for changing the colors on the body parts.
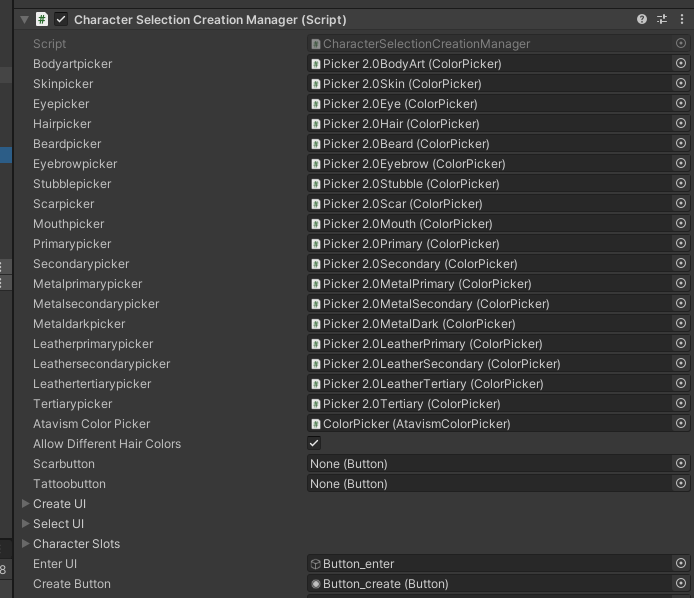
We can now go back to the first screen and fill out the items we pulled in from the color pickers. Drag the color picker into the proper location.
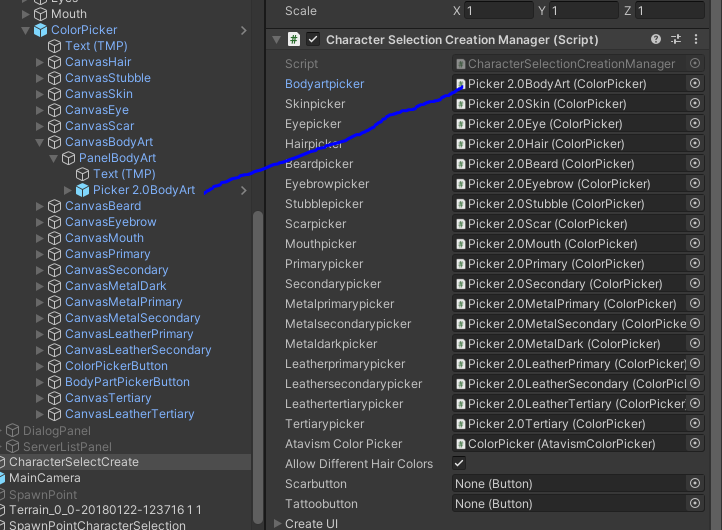
Once completed the color picker will look like this.
Customizer
The easiest way to get started with the character options is to pull in the customizer prefab which can be located at path Assets/HNGamers/ModularCustomizationSystem/Prefabs/Customizer.prefab. and enabling or disabling the button as needed.
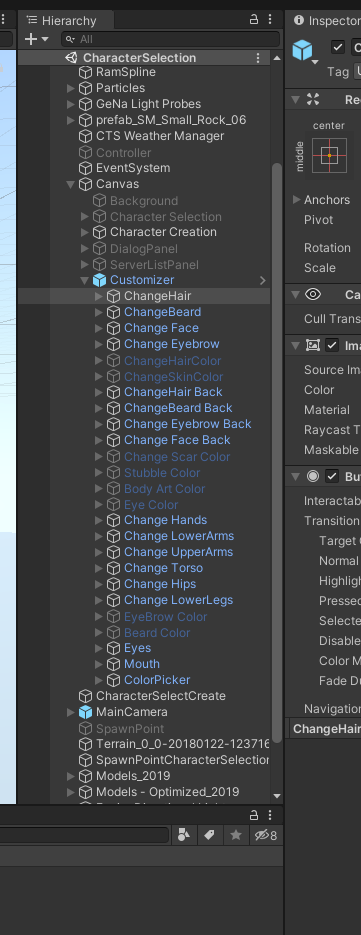
You can also create a new button.
Character setup
Character Slots
None
This is the slot for all Modular armor items that do not conform to the below items. If you choose a slot and it has unexpected results on your model (items are disabled that should not be), then use the None slot.
MainHand/MainHand2
The Active Hand in use, using this slot will disable the hands displayed and replace them with the model from the equipment display.
Chest
The Active Chest item in use, using this slot will disable the chest or torso that is displayed and replace them with the model from the equipment display.
LeftShoulder/RightShoulder
The Active Upper Arms Right or Left inuse, using this slot will disable the Upper arms that are displayed and replace them with the model from the equipment display.
LeftElbow/RightElbow
The Lower Arms Right or Left in use, using this slot will disable the lower arm items that are displayed and replace them with the model from the equipment display.
Head
The Active Head in use, using this slot will disable the head item displayed and replace it with the model from the equipment display.
HeadCoverings
The Active Head covering in use, using this slot will disable the crown/helmet/horns/ears displayed and replace them with the model from the equipment display.
Pelvis
The Active Hips in use, using this slot will disable the hip item that is displayed and replace them with the model from the equipment display.
LeftKnee/RightKnee
The Active Shoulder Knee or Left in use, using this slot will disable the knee items that are displayed and replace them with the model from the equipment display.
LeftFoot/RightFoot
The Active Foot Right or Left in use, using this slot will disable the feet items that are displayed and replace them with the model from the equipment display.
Standard Setup
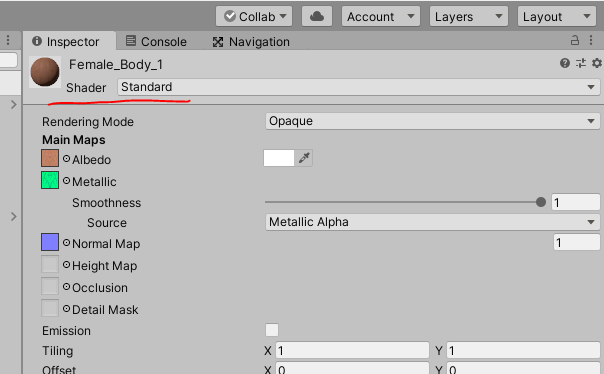
To setup the character shaders properly, open your prefab and select the body. If you have a separate head, select this as well. Record the location of the materials and what shaders they use.
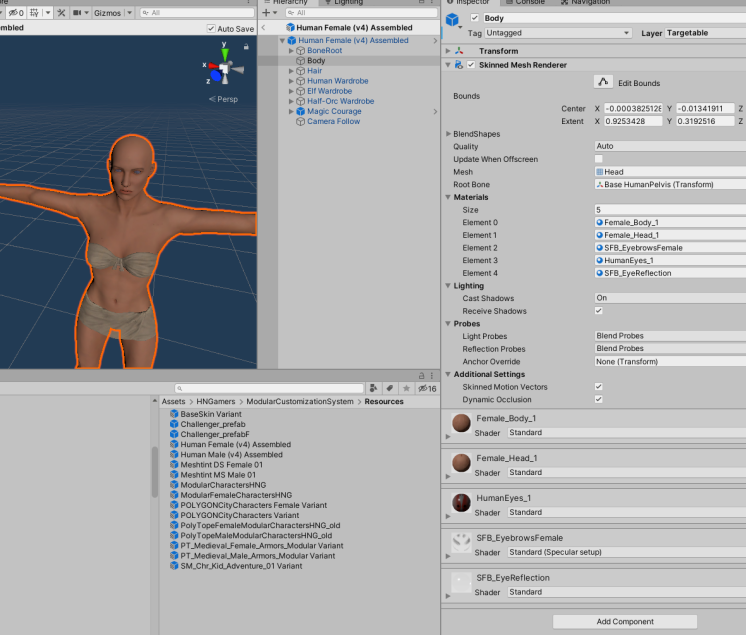
Add the materials and selected shaders for the various parts to properly configure the color system.
Modular Swapping
As of 0.5.1 the system supports Modular Swapping with a new system. You will need to create several new replacement items for this purpose.
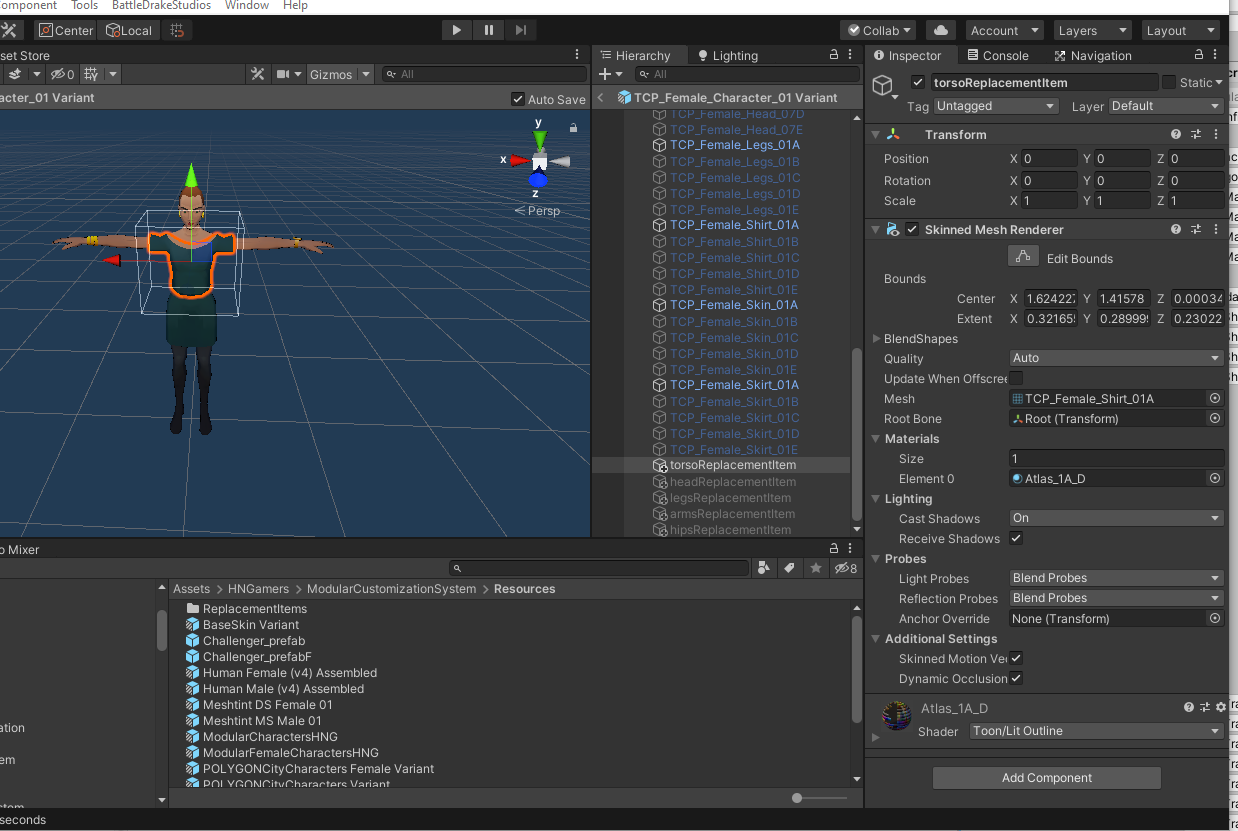
You can see with this model we have duplicated an existing torso, head, legs, arms and hips within the models prefab. In this image we have selected the torso replacement item and it is highlighted. All of these items should be disabled in the scene hierarchy, the script will handle enabling them.
Drag this onto the appropriate replacement locations inside of the Modular script on your prefab, there are several new sections to add. Only add the specific items you wish to replace for this purpose.
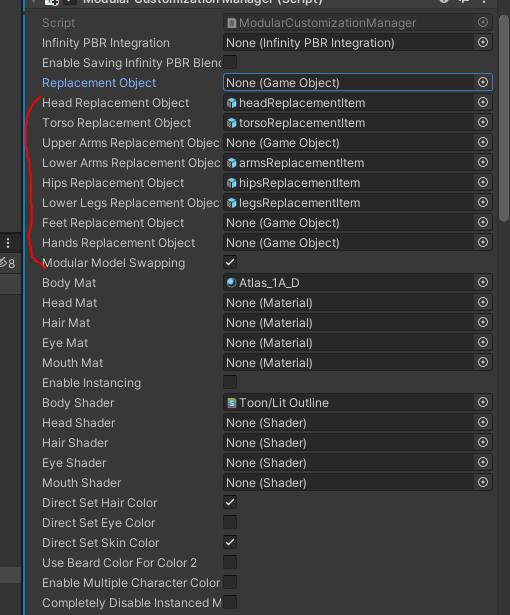
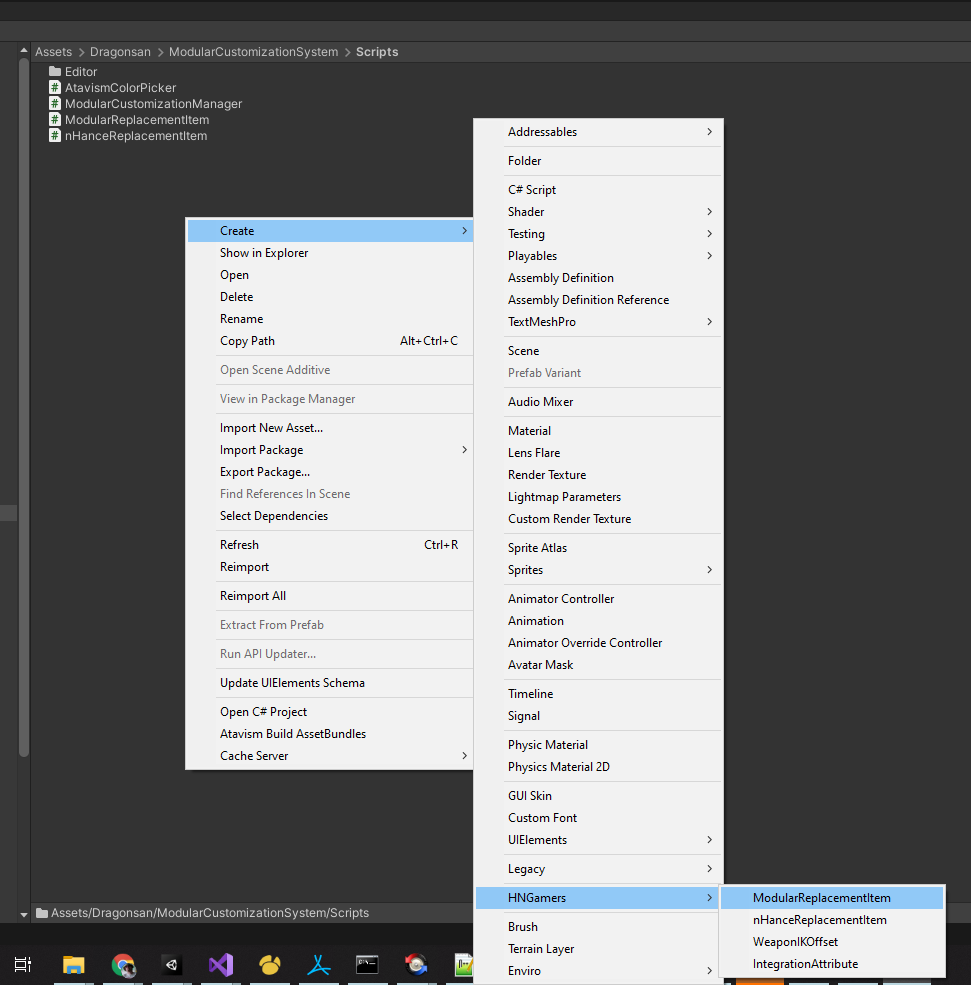
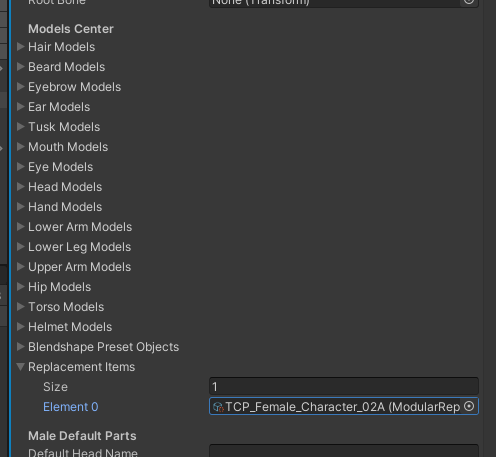
Now set up your character like normal; however, we add in one additional field. We will drag in a replacement item for each modular swap we want to do. Create a new one by right clicking on your project, Create -> HNGamers -> ModularReplacementItem
Once created, drag the prefab you want to swap into the full body replacement slot. In this example we are using character 2a. We have collected part names from inside the prefab that we want to swap to, and placed that in the proper swap location on the ModularReplacementItem.
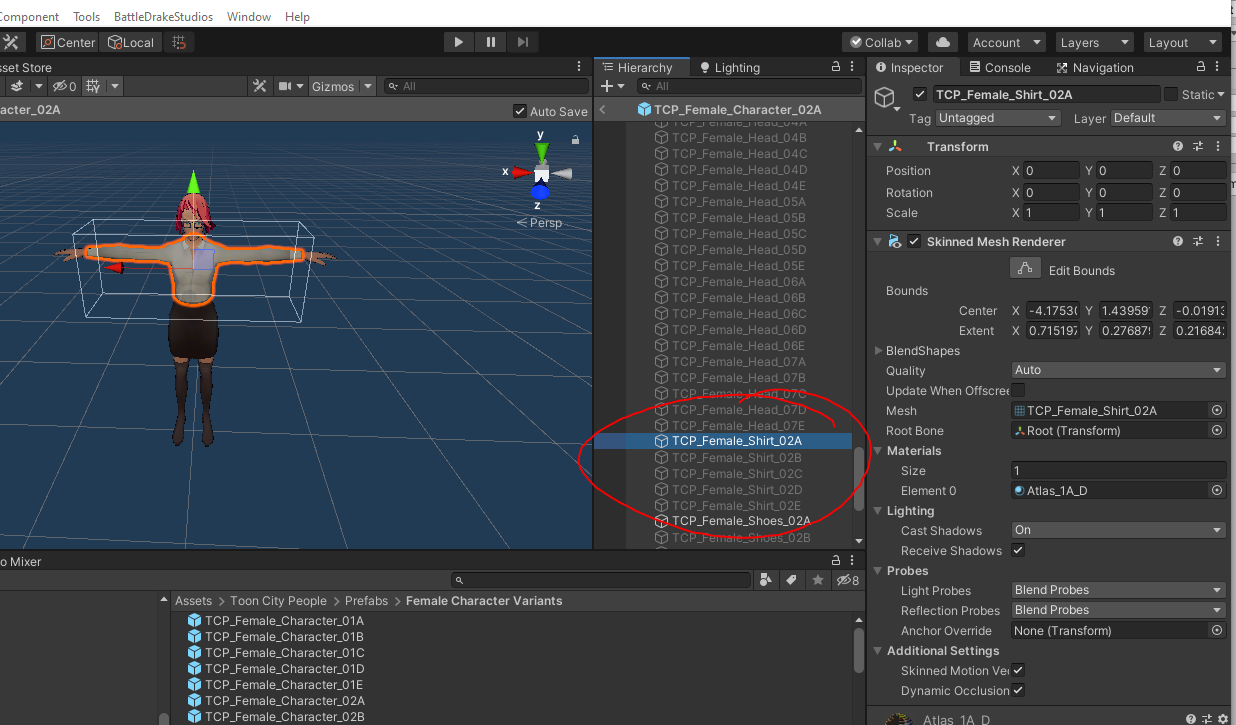
We drag these items that are created into the Replacement Item holder.
Toon City People
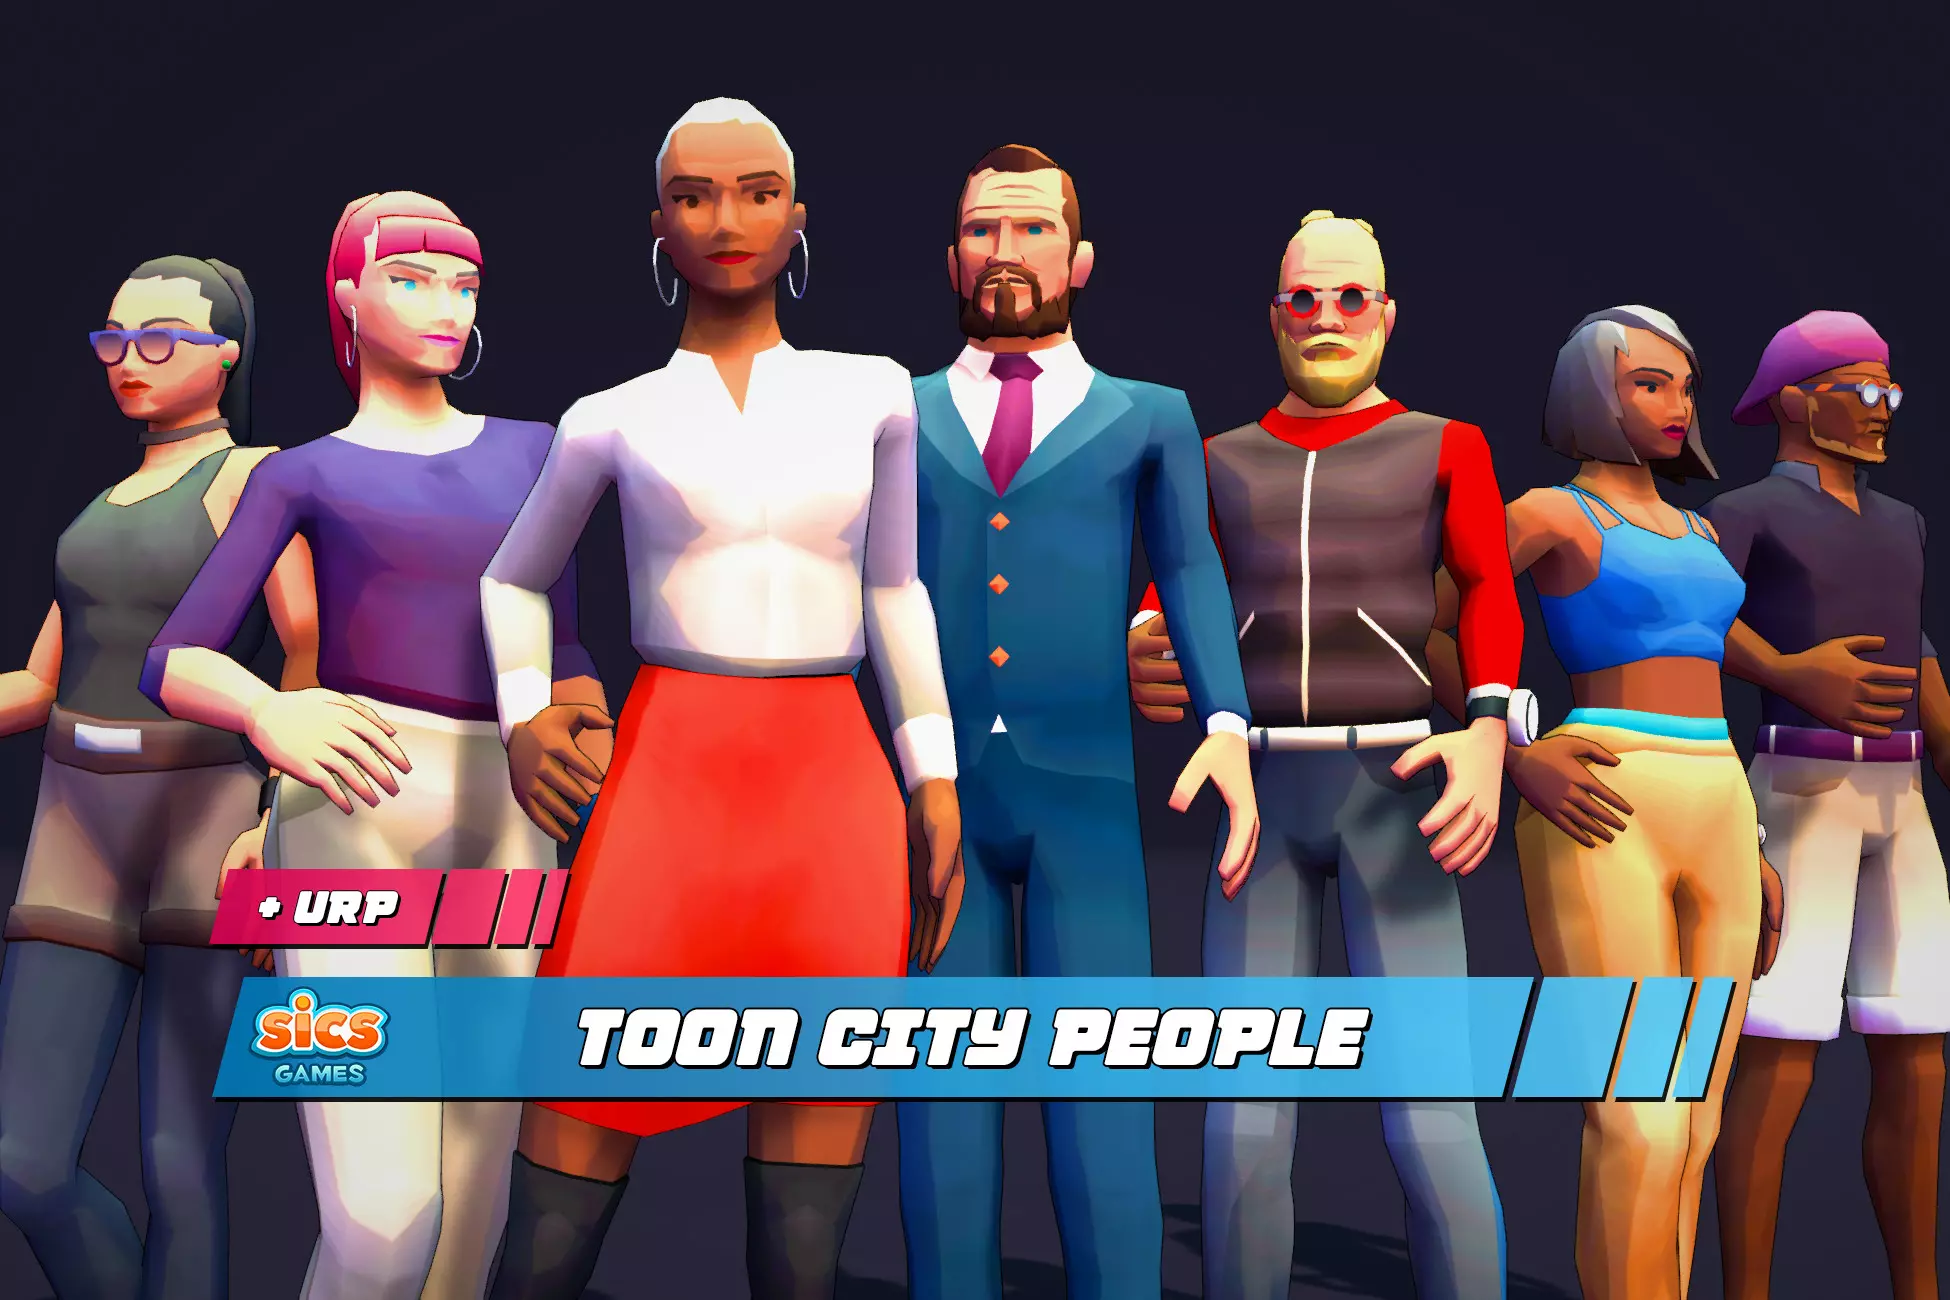
As of 0.5.1 Toon City people are supported along with Modular swapping of the models at runtime. Follow the Modular Swapping setup to start using these models today. This model set is a modular character set, with multiple different modular characters. You can use the modular system to create a super character that contains several of these models and swap between them.
You can use the standard Modular setup for these characters or a super character containing several.
See the prefab located at Assets/HNGamers/ModularCustomizationSystem/Resources/TCP_Female_Character_01 Variant.prefab for an example of how to use this.
Modular Modular setup
NHance
nHance Studio Modular Stylized Snake Assassin Hero
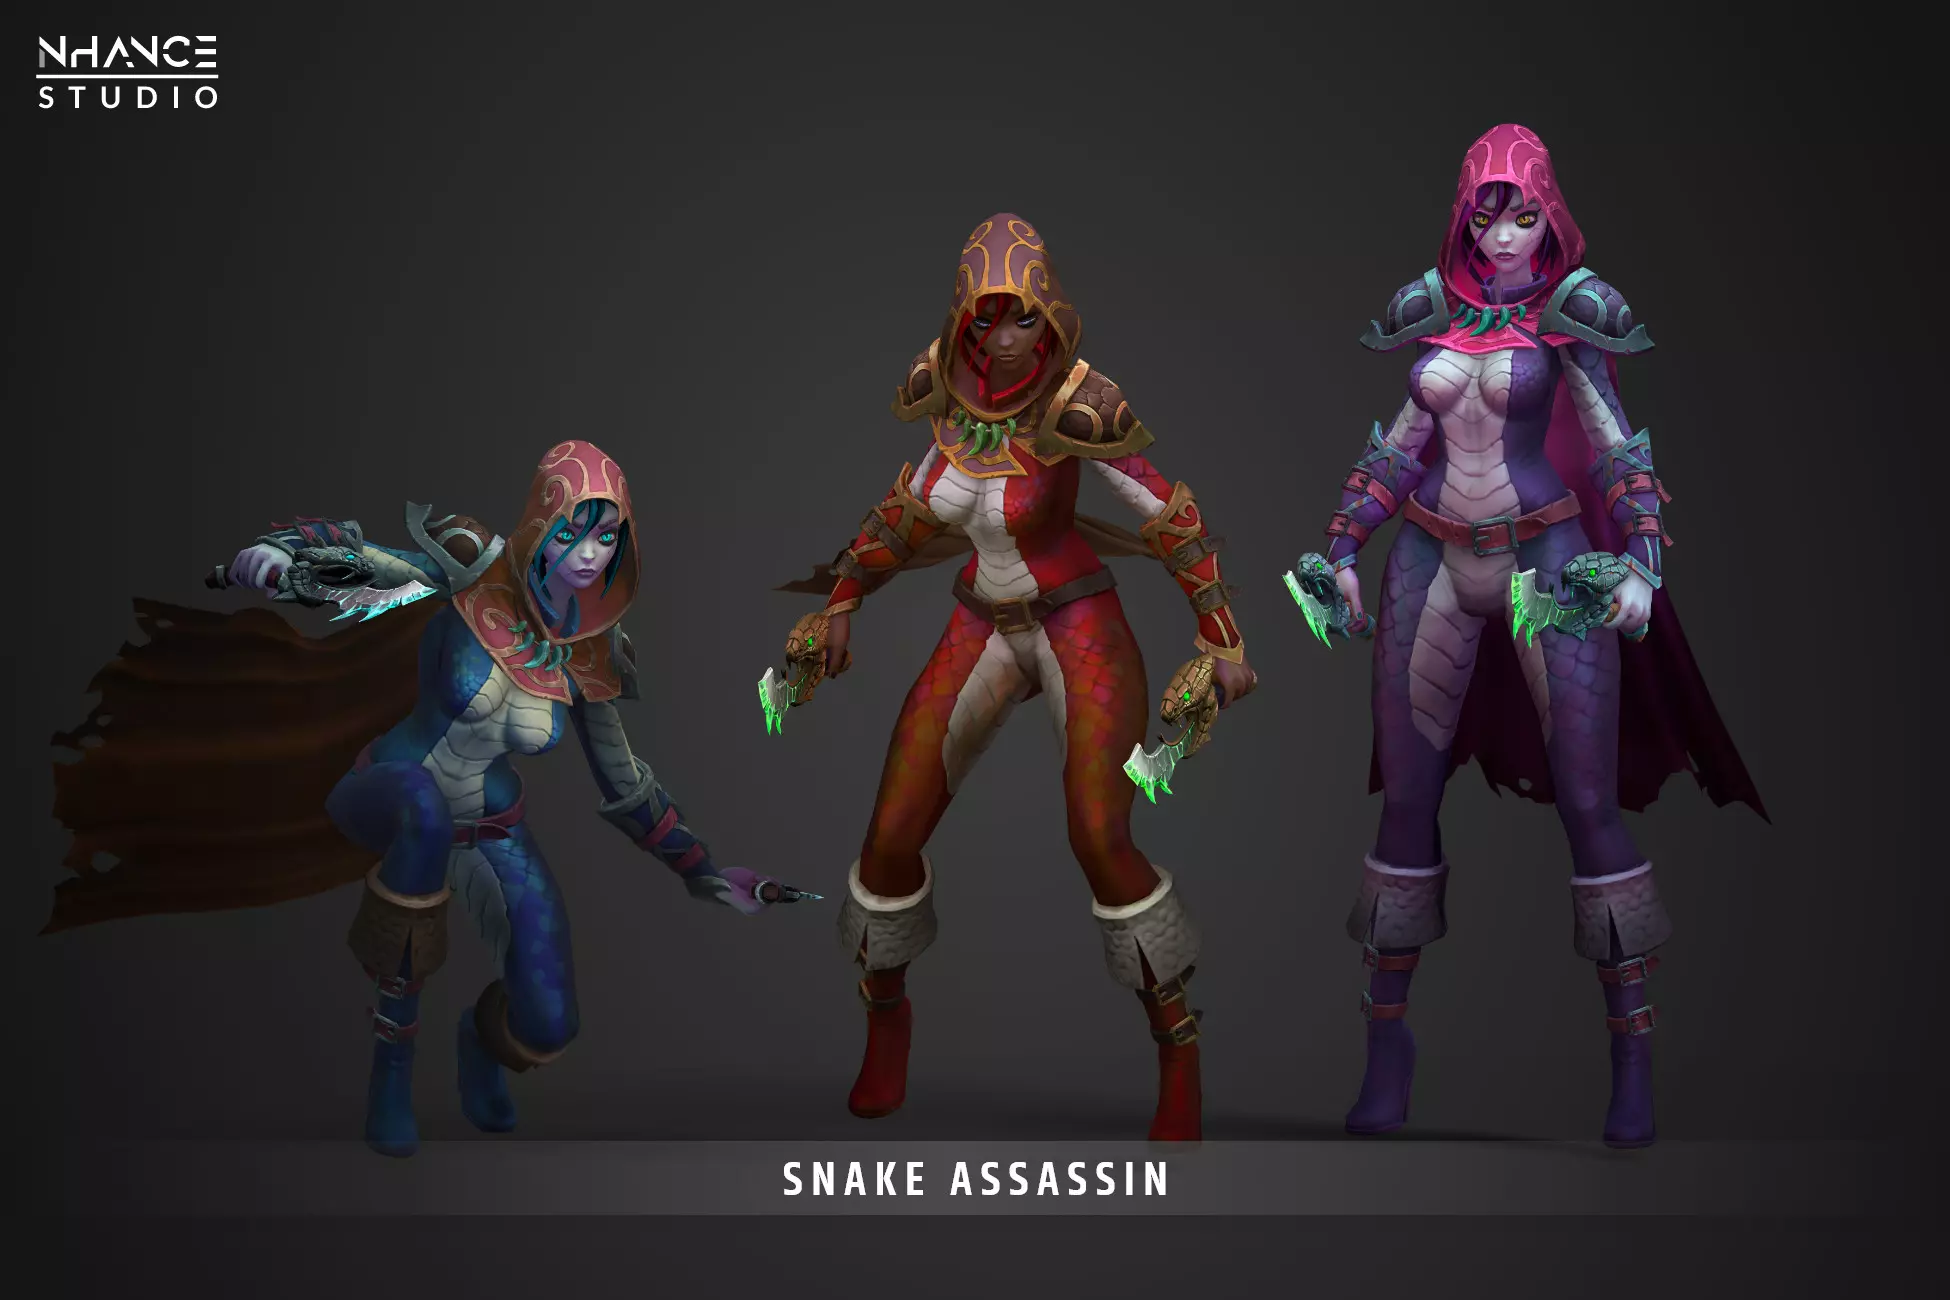
This is an example of a customer’s setup and how the system can be utilized for any modular system. We do not provide this prefab for usage.
Modular Stylized Snake Assassin Hero setup
Internal Hair
Single Material with Standard Shader
Individual Torso’s for various colors
Directly setting the skin colors
Default parts set to prefab model parts
Download the support file
https://drive.google.com/file/d/1JJEb7DjZe0h81mldSsyaE-piuqQIOhnl/view?usp=sharing
Add in the following scripting define
POLYGON – Modular Fantasy Hero Characters
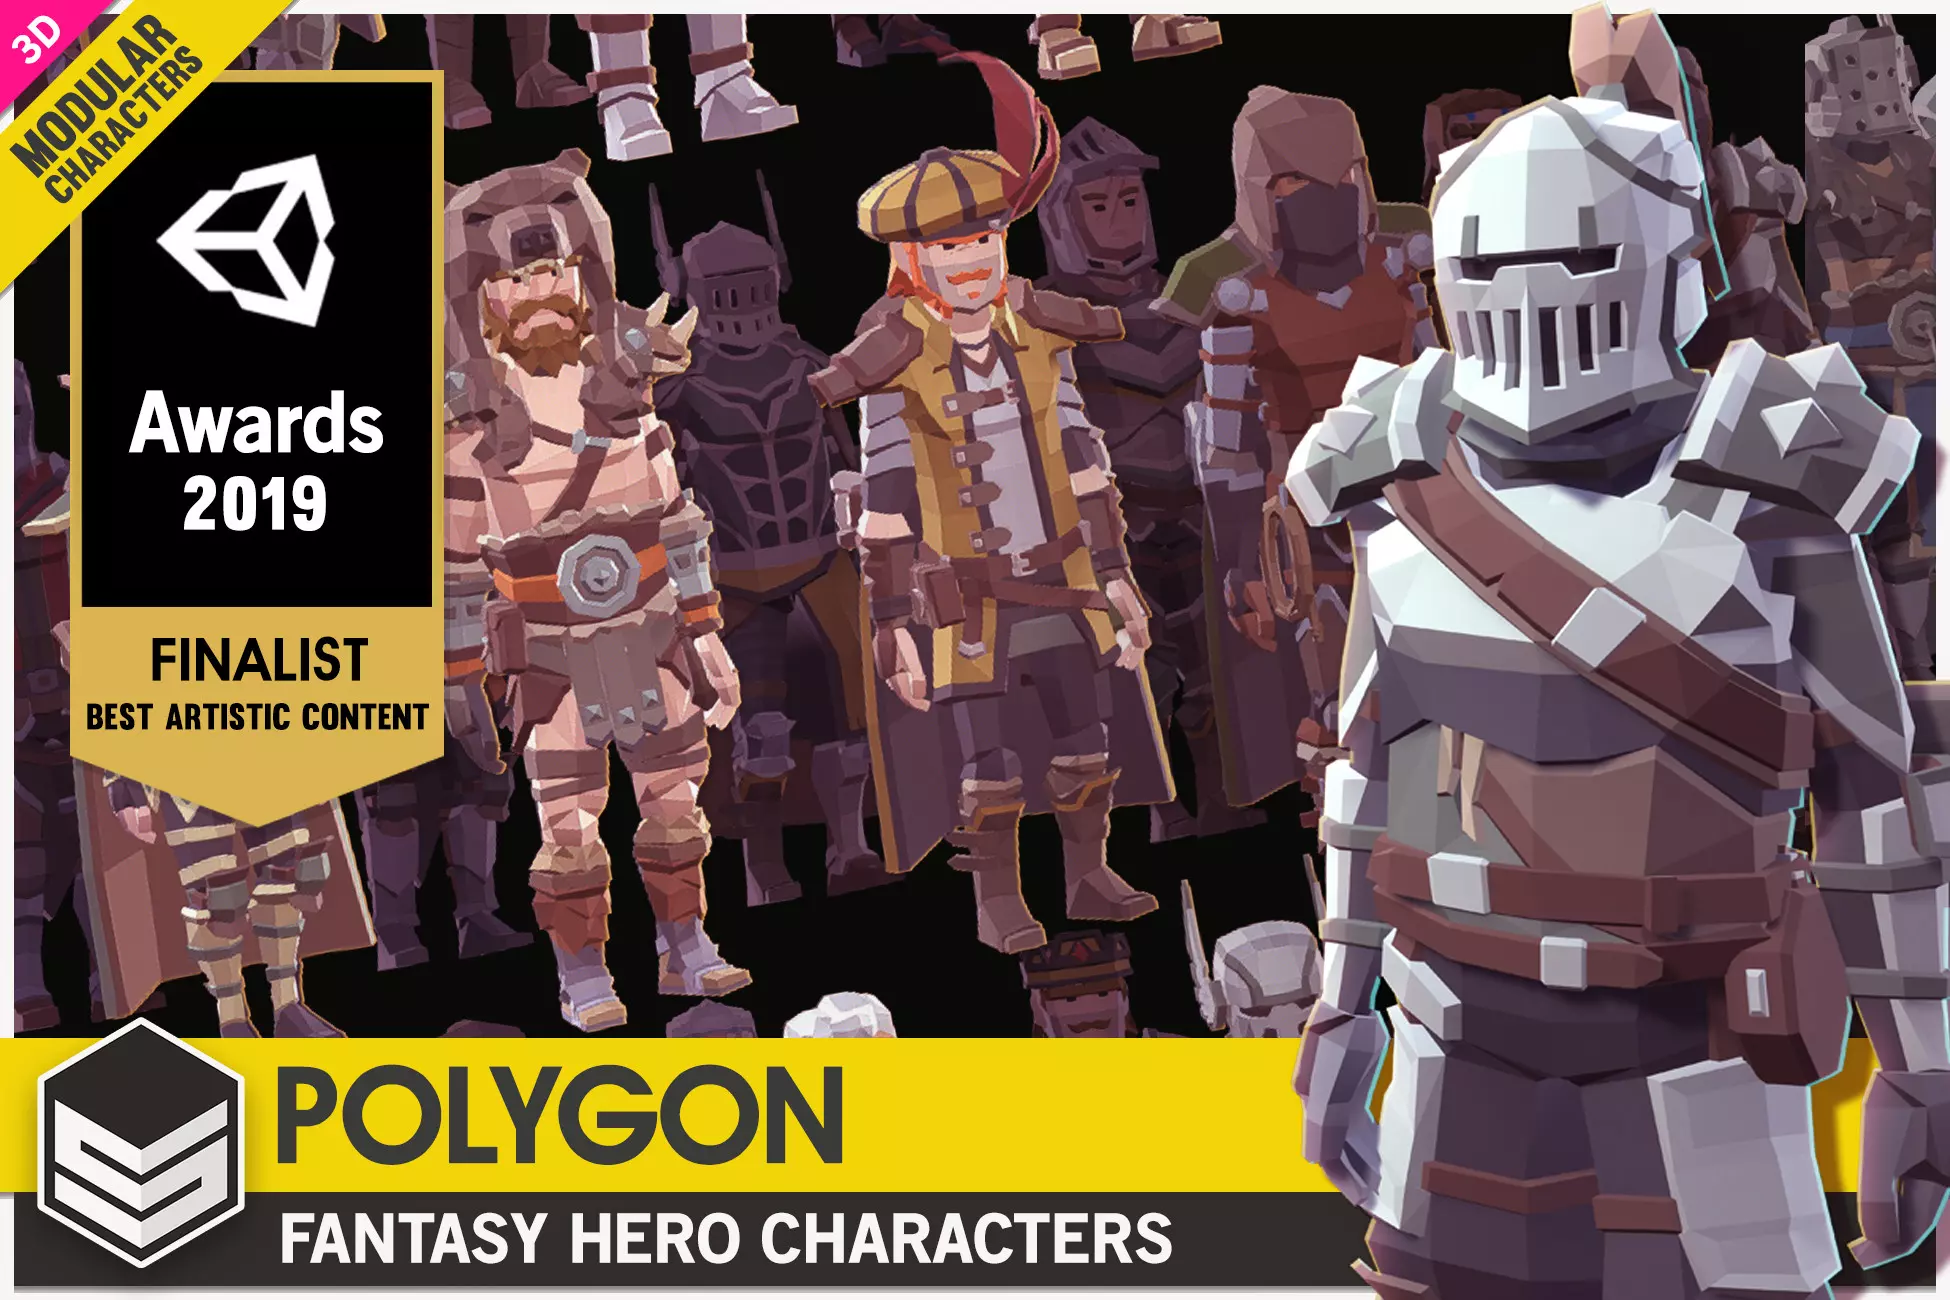
This is the base install for the Modular system and is what is supported out of the box. In order to use the Synty Modular system you will need to grab this character.
Character Configuration
Video Guide
Atavism Character Setup
https://unity.wiki.atavismonline.com/project/character-model-race-and-class/
Color System
Hair and Beard Models
Configured Prefab
Synty characters
Character Configuration
Drag your new character prefab into your scene to begin the process of preparing your prefab In this example we will use the new Synty Polygon Kids from the asset store. We show examples here from two of the Synty Lineups. Any of the Synty character sets other than the Modular Character will use this same process. Any characters similar to Synty that are not specifically called out, should use this same process.
Atavism Character Setup
https://unity.wiki.atavismonline.com/project/character-model-race-and-class/
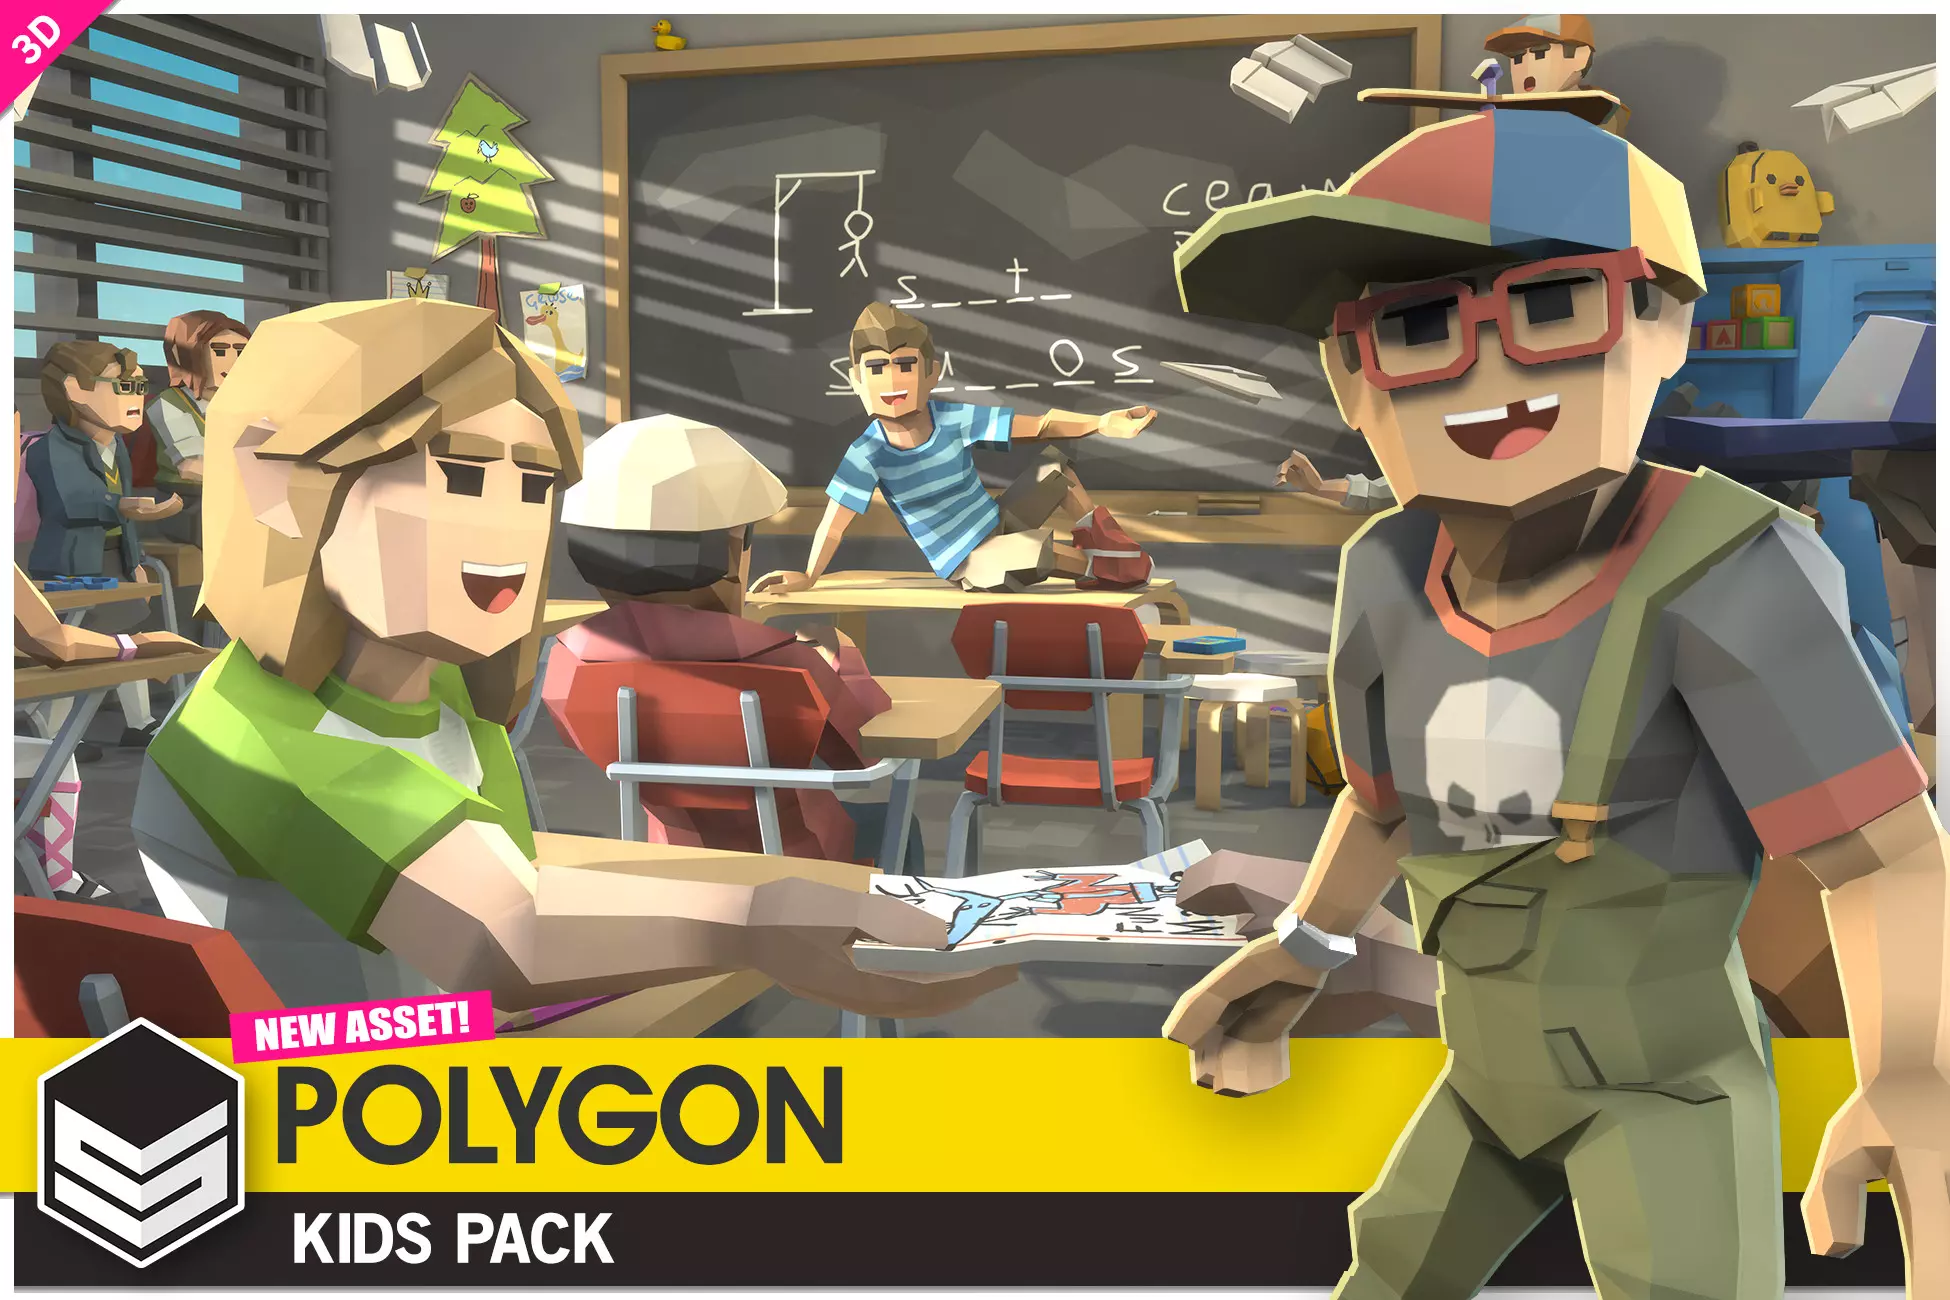
POLYGON – Kids Pack
POLYGON – City Characters

Add a modular Customization manager script to the object
If you have multiple prefabs Open the prefab so you can see the objects, select the first character object in the model Duplicate it and call it the Replacement item, then disable it in the hierarchy. Drag this into the replacement item field on the Modular System.
Click the lock, select all the male body objects in the prefab and drag them into the torso slot. Repeat this process for the female prefab items.
Navigate to Assets/HNGamers/ModularCustomizationSystem/CharacterCreateObjects, select one of the items, duplicate and rename it to SyntyKids.
Select one of the objects in the prefab that has the materials for the models. Drag this material into the body material, and then select the shader that the material uses.
This completes the base install, finalizing your configuration of the character by following this tutorial. https://unity.wiki.atavismonline.com/project/character-model-race-and-class/
Color System
Not active in this
Hair and Beard Models
Configured Prefab
You will find a completed prefab for the Synty Kids here. Assets/HNGamers/ModularCustomizationSystem/Resources/SM_Chr_Kid_Adventure_01 Variant.prefab
Polytope Lowpoly Medieval Modular Armors
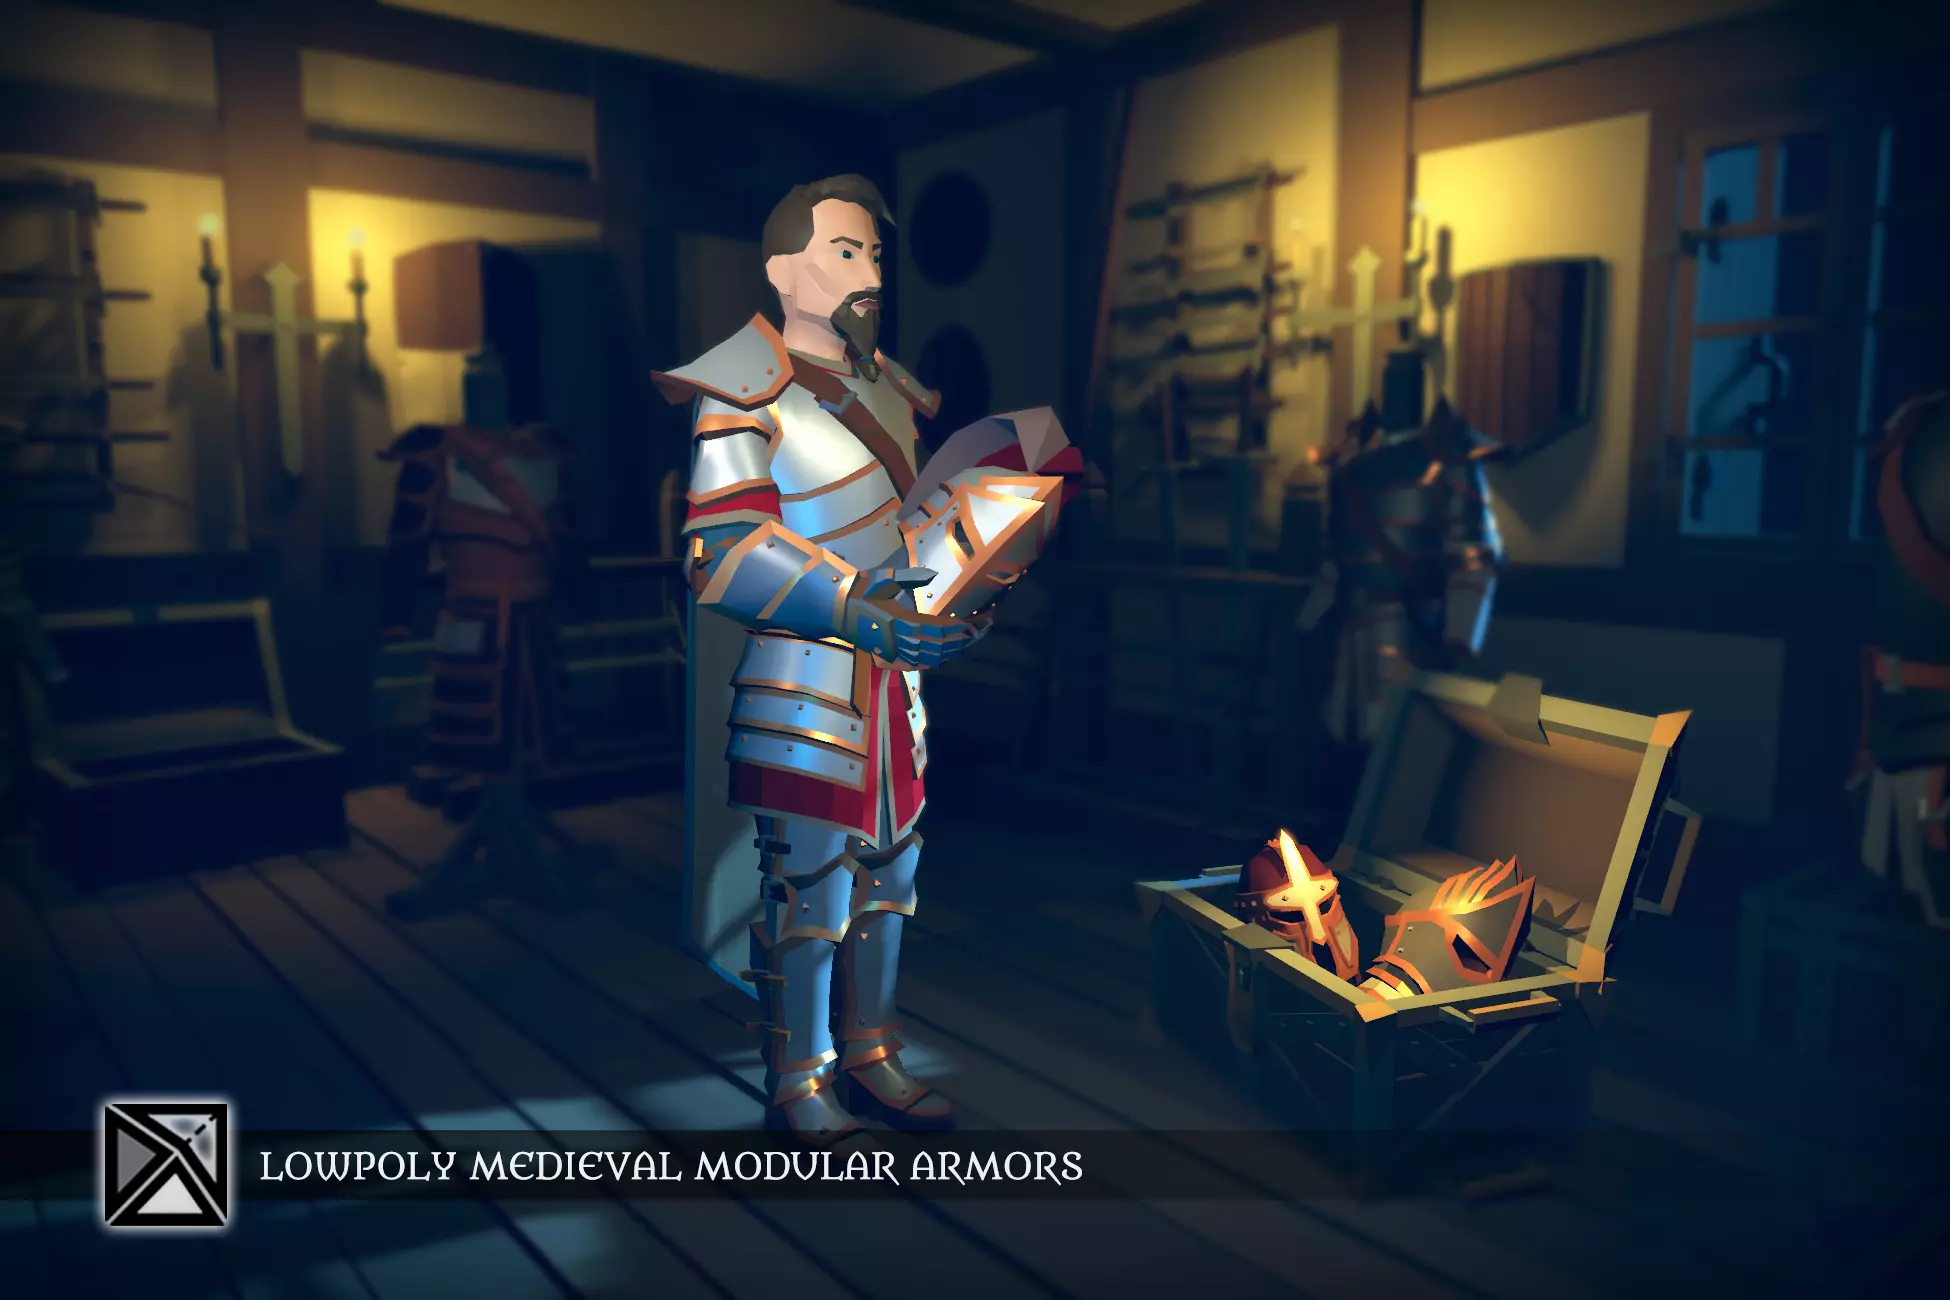
We support this character and all models in the system.
Video Guide
Atavism Character Setup
https://unity.wiki.atavismonline.com/project/character-model-race-and-class/
Character Configuration
Drag the original prefabs into the scene for the Polytope characters.
Select all of the items in one of the models except the Hips, the naked parts and whichever head is your default head.
Disable these objects on your prefab item.
Color System
The color system is supported for the Polytope models through the custom shader that is provided. It will function the same as the Synty and other color systems.
Hair and Beard Models
Configured Prefab
A configured prefab is provided for both male and female for the Polytope Characters located at
Assets/HNGamers/ModularCustomizationSystem/Resources/PT_Medieval_Female_Armors_Modular Variant.prefab
and
Assets/HNGamers/ModularCustomizationSystem/Resources/PT_Medieval_Male_Armors_Modular Variant.prefab
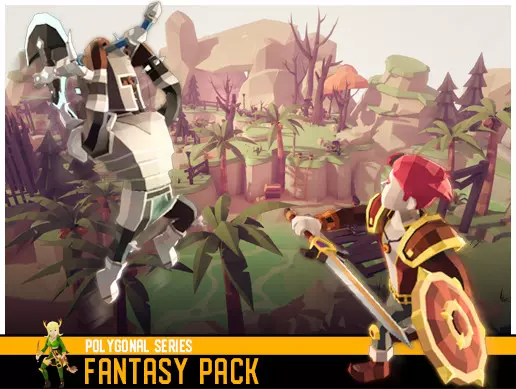
Meshtint Polygonal Fantasy Pack
Character Configuration
Color System
Hair and Beard Models
Configured Prefab
The Girls Modular Character
Character Configuration
Color System
Hair and Beard Models
Configured Prefab
Infinity PBR characters
Infinity Human Character
Character Pack: Half-Orc, Human, Elf, Male & Female
The functionality supported for Infinity PBR models is as follows.
Character Configuration
In order to support Infinity PBR blend shapes you will need an optional addon AtavisimInfinityPBRIntegration located in the channel. Once imported you will find all the scripts located at Assets/HNGamers/AtavisimInfinityPBRIntegration
Infinity PBR Integration
Pull a prefab into the scene and add an Infinity PBR integration script to your prefab.
Drag the prefab into the SFB_BlendshapesManager to automatically fill it out. Do not modify any additional settings, they will be automatically filled out.
In order to activate the blend shape functionality, checkmark the option for Enable Saving Infinity PBR Blendshapes.As above, drag the prefab onto the Infinity PBR integration slot to auto fill it out.
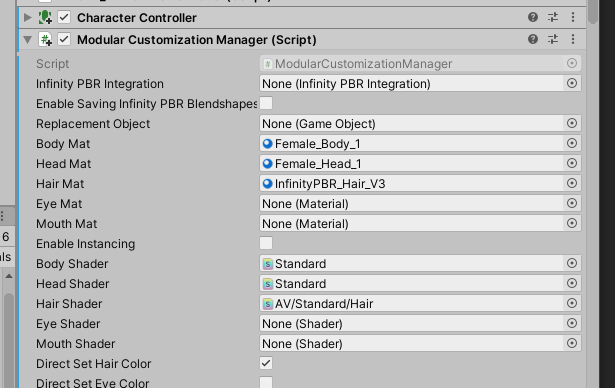
Materials and Shaders
Add the original shader to the body, head and hair, the eye is optional and non functional at this point for a future version.
Color System
Hair and skin color is modified by directly interacting with the shader. If you want to enable color modification check these boxes and ensure Completely Disable Color modification is disabled.
Enable Beard for Color 2
This option allows you to use the beard for the secondary color in the hair.
If you want to allow different beard or hair colors, check mark this option
Hair and Beard Models
Internal Models
We are using the modular characters, with the hair inside the prefab. Please check mark this option so that the hair is loaded properly.
Hair Transforms
Each character will be slightly different, this only matters if you are using external hair.
Configured Prefab
A properly configured character would look similar to this, these would be the minimal scripts required to support the functionality.
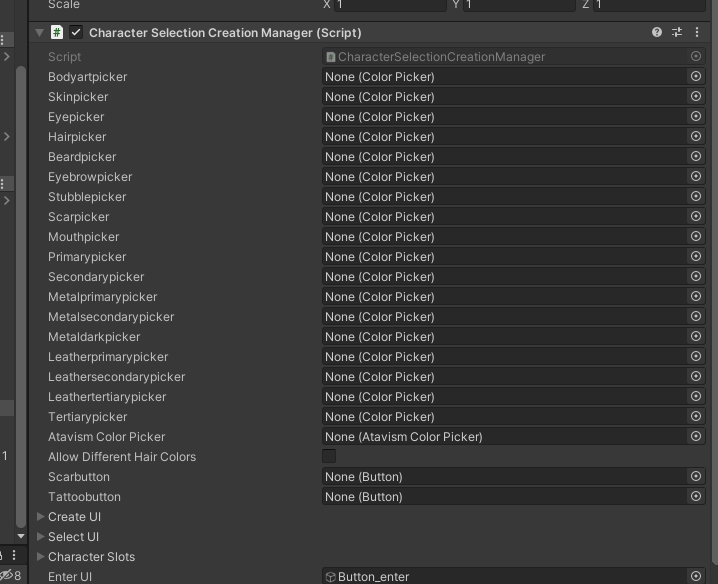
Character Creation API
In order to access the API system, you will need to drag the CharacterSelectCreate onto the OnClick action for your button or handle the function in code. In this example, we have dragged the CharacterSelectCreate scene object into the location and then selected the SwitchHair function from the drop down.
public void SwitchHair()
Cycles through all of the objects in the list that correspond to this function.
public void SwitchHairBack()
Cycles through all of the objects in the list that correspond to this function.
public void SwitchBeard()
Cycles through all of the objects in the list that correspond to this function.
public void SwitchBeardBack()
Cycles through all of the objects in the list that correspond to this function.
public void SwitchEyebrow()
Cycles through all of the objects in the list that correspond to this function.
public void SwitchEyebrowBack()
Cycles through all of the objects in the list that correspond to this function.
public void SwitchEye()
Cycles through all of the objects in the list that correspond to this function.
public void SwitchEyeBack()
Cycles through all of the objects in the list that correspond to this function.
public void SwitchMouth()
Cycles through all of the objects in the list that correspond to this function.
public void SwitchMouthBack()
Cycles through all of the objects in the list that correspond to this function.
public void SwitchEar()
Cycles through all of the objects in the list that correspond to this function.
public void SwitchEarBack()
Cycles through all of the objects in the list that correspond to this function.
public void SwitchTusk()
Cycles through all of the objects in the list that correspond to this function.
public void SwitchTuskBack()
Cycles through all of the objects in the list that correspond to this function.
public void SwitchSkinColortoColor(Color32 color)
Accepts a Color32 value to switch the existing character item to the selected color.
public void SwitchHairColortoColor(Color32 color)
Accepts a Color32 value to switch the existing character item to the selected color.
public void SwitchBodyArtColortoColor(Color32 color)
Accepts a Color32 value to switch the existing character item to the selected color.
public void SwitchEyeColortoColor(Color32 color)
Accepts a Color32 value to switch the existing character item to the selected color.
public void SwitchPrimaryColortoColor(Color32 color, AtavismColorPicker atavismColorPicker)
Accepts a Color32 value to switch the existing character item to the selected color. Requires a color picker object in the scene to provide this.
public void SwitchSecondaryColortoColor(Color32 color, AtavismColorPicker atavismColorPicker)
Accepts a Color32 value to switch the existing character item to the selected color. Requires a color picker object in the scene to provide this.
public void SwitchMetalPrimaryColortoColor(Color32 color, AtavismColorPicker atavismColorPicker)
Accepts a Color32 value to switch the existing character item to the selected color. Requires a color picker object in the scene to provide this.
public void SwitchMetalSecondaryColortoColor(Color32 color, AtavismColorPicker atavismColorPicker)
Accepts a Color32 value to switch the existing character item to the selected color. Requires a color picker object in the scene to provide this.
public void SwitchMetalDarkColortoColor(Color32 color, AtavismColorPicker atavismColorPicker)
Accepts a Color32 value to switch the existing character item to the selected color. Requires a color picker object in the scene to provide this.
public void SwitchLeatherPrimaryColortoColor(Color32 color, AtavismColorPicker atavismColorPicker)
Accepts a Color32 value to switch the existing character item to the selected color. Requires a color picker object in the scene to provide this.
public void SwitchLeatherSecondaryColortoColor(Color32 color, AtavismColorPicker atavismColorPicker)
Accepts a Color32 value to switch the existing character item to the selected color. Requires a color picker object in the scene to provide this.
public void SwitchLeatherTertiaryColortoColor(Color32 color, AtavismColorPicker atavismColorPicker)
Accepts a Color32 value to switch the existing character item to the selected color. Requires a color picker object in the scene to provide this.
public void SwitchTertiaryColortoColor(Color32 color, AtavismColorPicker atavismColorPicker)
Accepts a Color32 value to switch the existing character item to the selected color. Requires a color picker object in the scene to provide this.
public void SwitchSkinScarColortoColor(Color32 color)
Accepts a Color32 value to switch the existing character item to the selected color.
public void SwitchStubbleColortoColor(Color32 color)
Accepts a Color32 value to switch the existing character item to the selected color.
public void SwitchBeardColortoColor(Color32 color)
Accepts a Color32 value to switch the existing character item to the selected color.
public void SwitchEyebrowColortoColor(Color32 color)
Accepts a Color32 value to switch the existing character item to the selected color.
public void SwitchMouthColortoColor(Color32 color)
Accepts a Color32 value to switch the existing character item to the selected color.
public void SwitchHands()
Cycles through all of the objects in the list that correspond to this function.
public void SwitchLowerArms()
Cycles through all of the objects in the list that correspond to this function.
public void SwitchUpperArms()
Cycles through all of the objects in the list that correspond to this function.
public void SwitchTorsoForward()
Cycles through all of the objects in the list that correspond to this function.
public void SwitchTorso()
Cycles through all of the objects in the list that correspond to this function.
public void SwitchTorsoBack()
Cycles through all of the objects in the list that correspond to this function.
public void SwitchHips()
Cycles through all of the objects in the list that correspond to this function.
public void SwitchLowerLegs()
Cycles through all of the objects in the list that correspond to this function.
public void SwitchFeet()
Cycles through all of the objects in the list that correspond to this function.
public void SetBlendShapes()
Cycles through all of the objects in the list that correspond to this function.
public void SwitchBlendshapePreset()
Cycles through all of the objects in the list that correspond to this function.
public void SwitchFace()
Cycles through all of the objects in the list that correspond to this function.
public void SwitchFaceForward()
Cycles through all of the objects in the list that correspond to this function.
public void SwitchFaceBack()
Cycles through all of the objects in the list that correspond to this function.
public void SwitchHead()
Cycles through all of the objects in the list that correspond to this function.
Shader – Color Syste
Introduction
The addon comes with several shaders to try and handle some of your color requirements. This is supported on several characters and is outlined here. The shaders were developed with the idea that they should all support the same functionality. The inspiration came from the Synty and the Polytope characters, so we use the name styles they chose. The exposed names for the colors which can be used are as follows. We currently support coloring the Polytope, MeshTint and Synty modular characters with these shaders. If you need a shader for your custom character, let us know.
Color_Primary
Color_Secondary
Color_Tertiary
Color_Metal_Primary
Color_Metal_Secondary
Color_Metal_Dark
Color_Leather_Primary
Color_Leather_Secondary
Color_Leather_Tertiary
Maya
Select the uv editor and the objects in the scene, choose image and UV Snapshot and save this out to a file
load this into your photo editor so you can see your mask against your texture
Create a RGBA toned image or black and white image of the shapes
in your shader connect the mask to a lerp component, passing your original texture through the mask.
Troubleshooting
The character select screen displays an old prefab or different prefab then the character creation screen.
This is an issue due to the way Atavism loads the prefabs from the directory. It looks for and loads the first named object out of the Resources folder. If there are multiple prefabs with the same name in Resources folders then you may experience this issue. Due to the way Synty prefabs are done
Thanks
Thanks to Martin from Atavism, without his support and desire to have the best product we wouldn’t be here today. Thanks to all the Atavism users who use this!
Support
Reach out to us in the support channel in Atavism for further assistance.
ChangeLog
6/10/2021 – 0.7.4.4
Correction to the hair disable system
Added in race prefab selection by gender
6/08/2021 – 0.7.4.3
Correction to Lower and Upper arms
Small Fixes
6/4/2021 – 0.7.4.2
URP Shader for Polytope
5/28/2021 – 0.7.4.1
Small fixes missed
Updated Menu system to download files from the repo
Removed Unity Packages from the modular system
Correction to Lower and Upper arms
5/28/2021 – 0.7.4
5/26/2021 – 0.7.3
Menu system update
Correction to Lower and Upper arms
Documentation changes
URP Shader for Synty
5/26/2021 – 0.7.2
5/23/2021 – 0.7.1
Corrections to the new material changers
5/18/2021 – 0.7.0
Added eye, skin, and hair material swapping for the character selection screen.
5/10/2021 – 0.6.91
Small fixes missed
5/9/2021 – 0.6.9
4/20/2021 – 0.6.6
4/20/2021 – 0.6.5
4/13/2021 – 0.6.4
4/12/2021 – 0.6.3
3/29/2021 – 0.6.2
Small fixes missed
3/29/2021 – 0.6.1
Cleaned up all folders and created packages for each import – Resides under ModularCustomizationSystem\_Customizer_Install_Files now.
Add in Feet Objects
Add in Help Documentation
Ui Cleanup