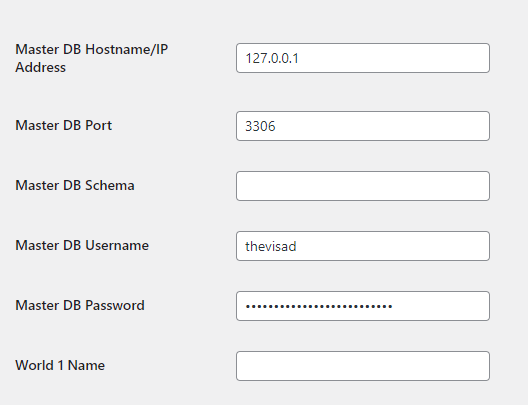
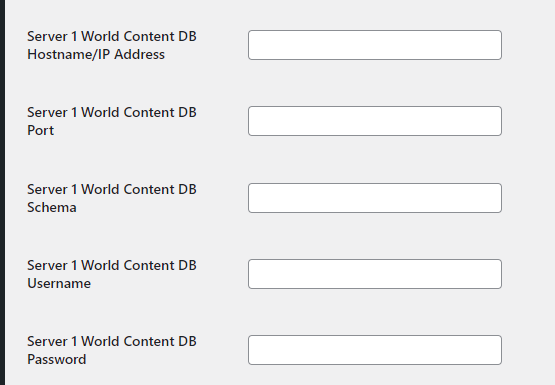
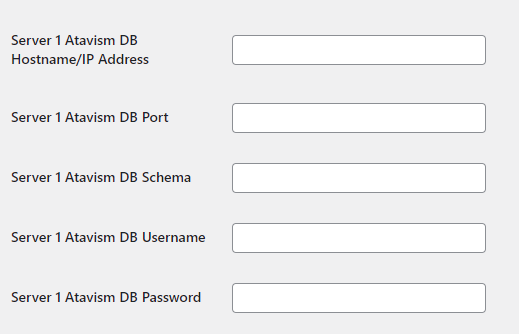
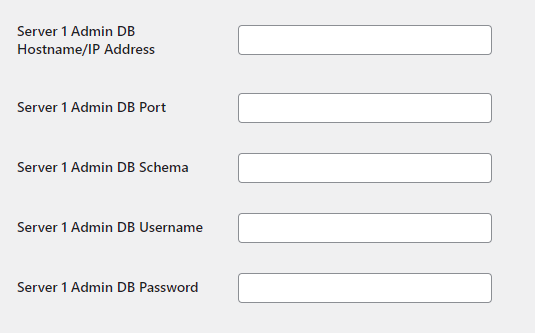
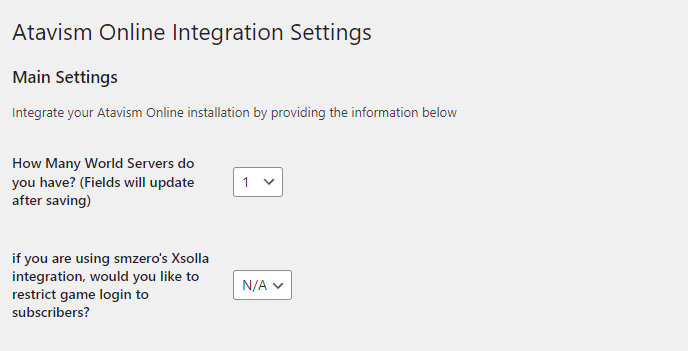
Configure the Server settings with the following configuration.
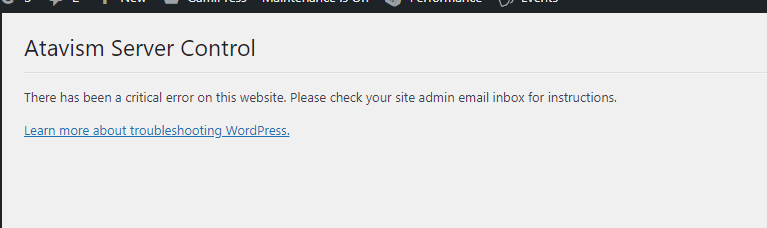
Once installed, you will receive this error message if the server configs have not been setup.
We will start with a single World Server and N/A on the Xsolla plugin. Once this has been configured, scroll to the bottom of the page and select save.
If your server is on the same server with the website, simply insert 127.0.0.1, you can remove the world Localhost and use this instead. It is not recommended to use Localhost for this purpose, if your Linux machine does not have Localhost defined it will not work and will error. There is also known issues with DNS lookups causing a delay in searching for “Localhost”.
Insert your MySQL port and the user account setup for this purpose. You defined these here in this Lesson. If you have a single username and password that has access to everything, you can enter this in all the fields. If you have setup the sever to have unique username and passwords for each, then you will need to specify the particular user accounts for each section that has access.
Note: 127.0.0.1 is the IP address specifically for the “Localhost” and is what “Localhost” resolves to. This is why it is recommended to just use the IP address instead of the word “Localhost”.
Insert your MySQL Schema for the particular section you are working on. (Master = master, Admin = admin, Atavism = atavism, World = world by default). There are 4 (four) database sections you are filling out.
Note: Schema is another name for the word Database and is interchanged frequently in applications and documentation. If you are asked for your database your schema, this is what they are referring to.