
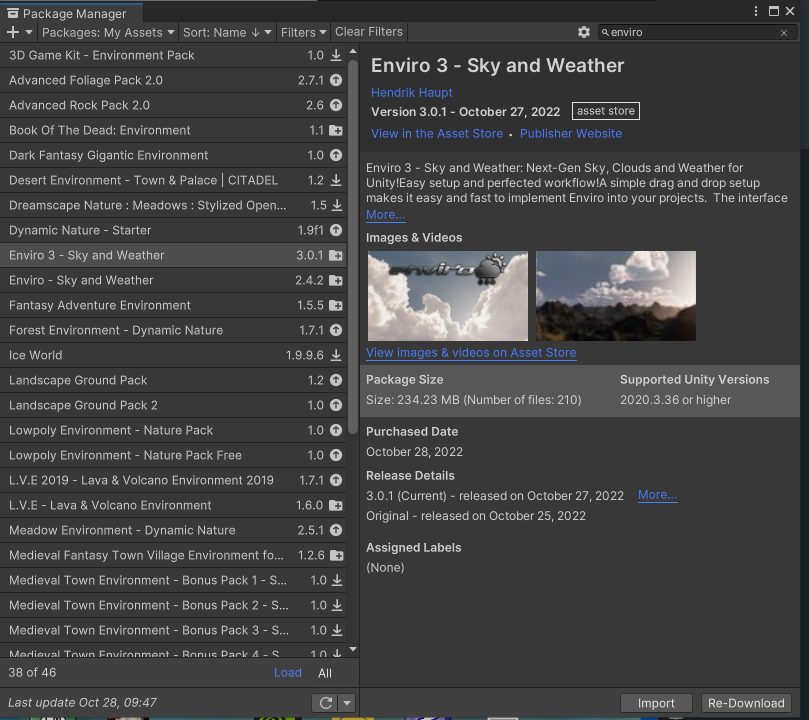
Get the addon
You can purchase the addon in the Unity store Enviro 3 – Sky and Weather and then access the Package Manager to download the asset.
Download the asset and into your project. Make sure to remove the previous version of the addon in case there are any conflicts.
Clean your Scene
Remove and eliminate any aspects of Enviro from your scene.
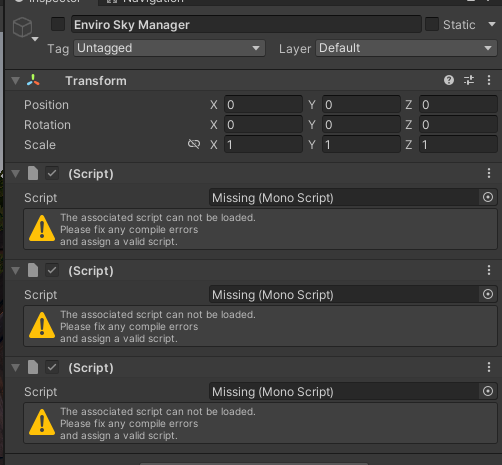
The new addon is not the same, so your old scripts will no longer be available. Clean up the camera from the old scripts as well.
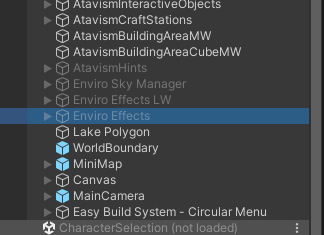
Add new Prefab
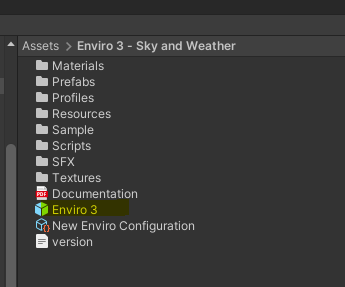
The new Enviro 3 prefab is here Assets/Enviro 3 – Sky and Weather/Enviro 3.prefab and can be dragged into the scene to replace the previous versions.
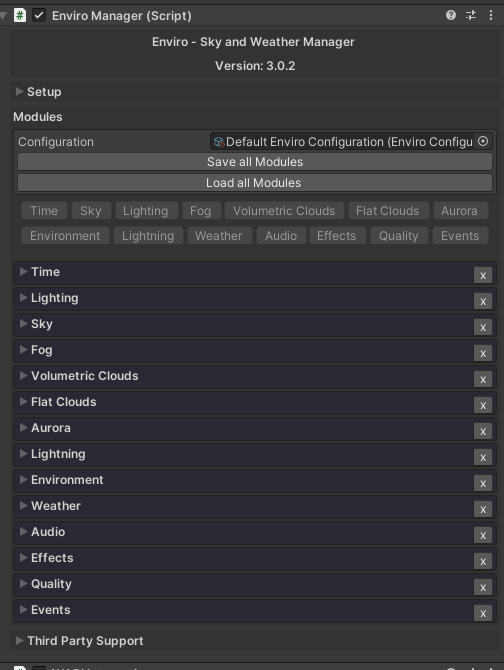
When you first import Enviro 3, you will see the default enviro component appear in the configuration window. The modules loaded will appear below that.
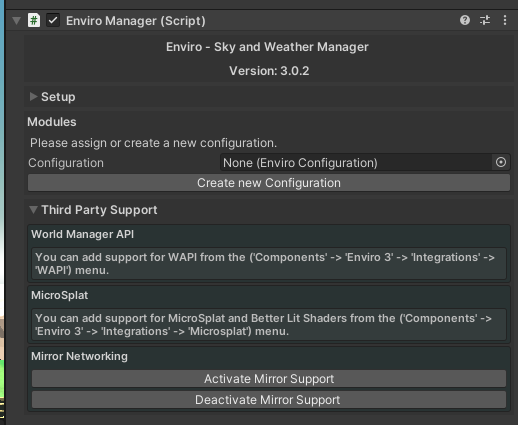
Alternatively, you can delete the reference and create a new profile.
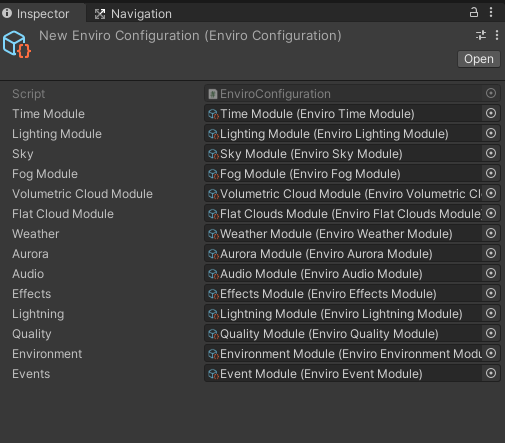
In your new profile, you can select which of the modules you would like to have available. You can load any, all or none of the items.
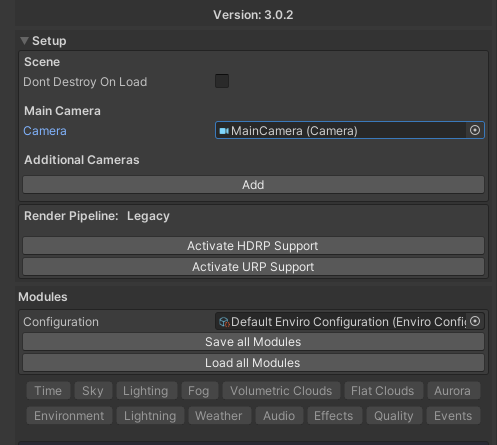
Once you have added your manager, expand the setup window. Make sure Don’t Destroy on Load is not checked, we will have an Enviro manager per scene to ensure we have the right weather for that scene. Find your main camera in the scene window and select it here. Add any additional cameras you might need to support in your scene view. You can activate the
Add WAPI Support
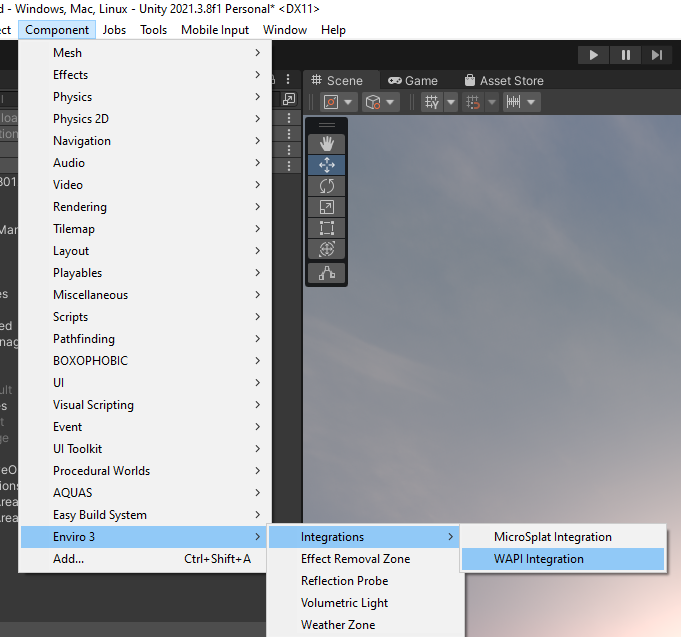
From the component dropdown, select Enviro 3 -> Integrations -> WAPI Integration. If you are using Microsplat, you can add this support here as well.
WAPI Settings
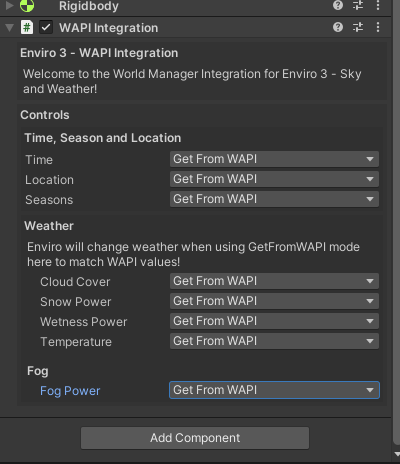
Add in WAPI support by switching all of the items to Get from WAPI. This will allow the WAPI engine to work with the system and tell Enviro how it should look.