Introduction
In Atavism Online X.9, a sophisticated feature set allows players to create detailed weapon profiles and bind specific actions to keys. This functionality enhances the gameplay experience by enabling diverse interactions based on the weapon type and its associated actions. This guide provides a comprehensive walkthrough of setting up and utilizing these features within the Atavism Online X.9 environment.
Setting Up Weapon Profiles
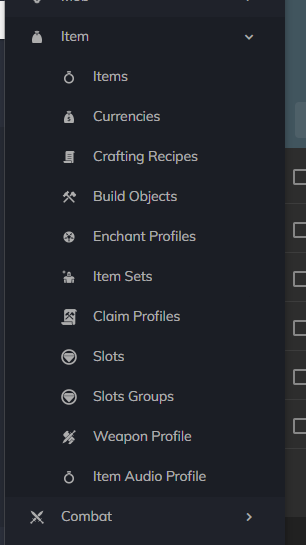
- Accessing the Weapon Profile Menu:
- Within the Atavism Online X.9 external editor, navigate to the item menu.
- Here, you will find options to configure weapon profiles.

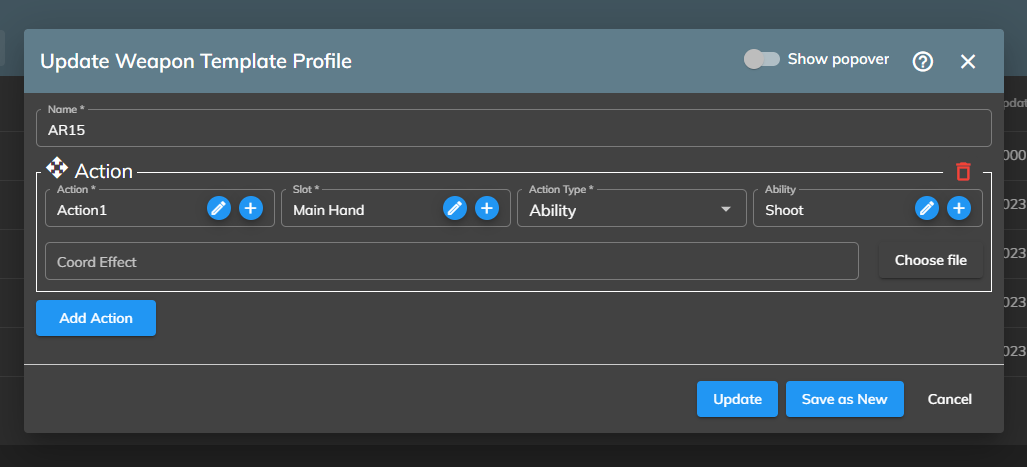
- Creating a Weapon Template Profile:
- The weapon template profile is your starting point for customizing weapon-specific actions.

- Defining Actions:
- Actions are crucial as they define the behavior of the weapon when specific keys are pressed.
- Add new actions by clicking the ‘+’ symbol in the actions field or via the options choice section.

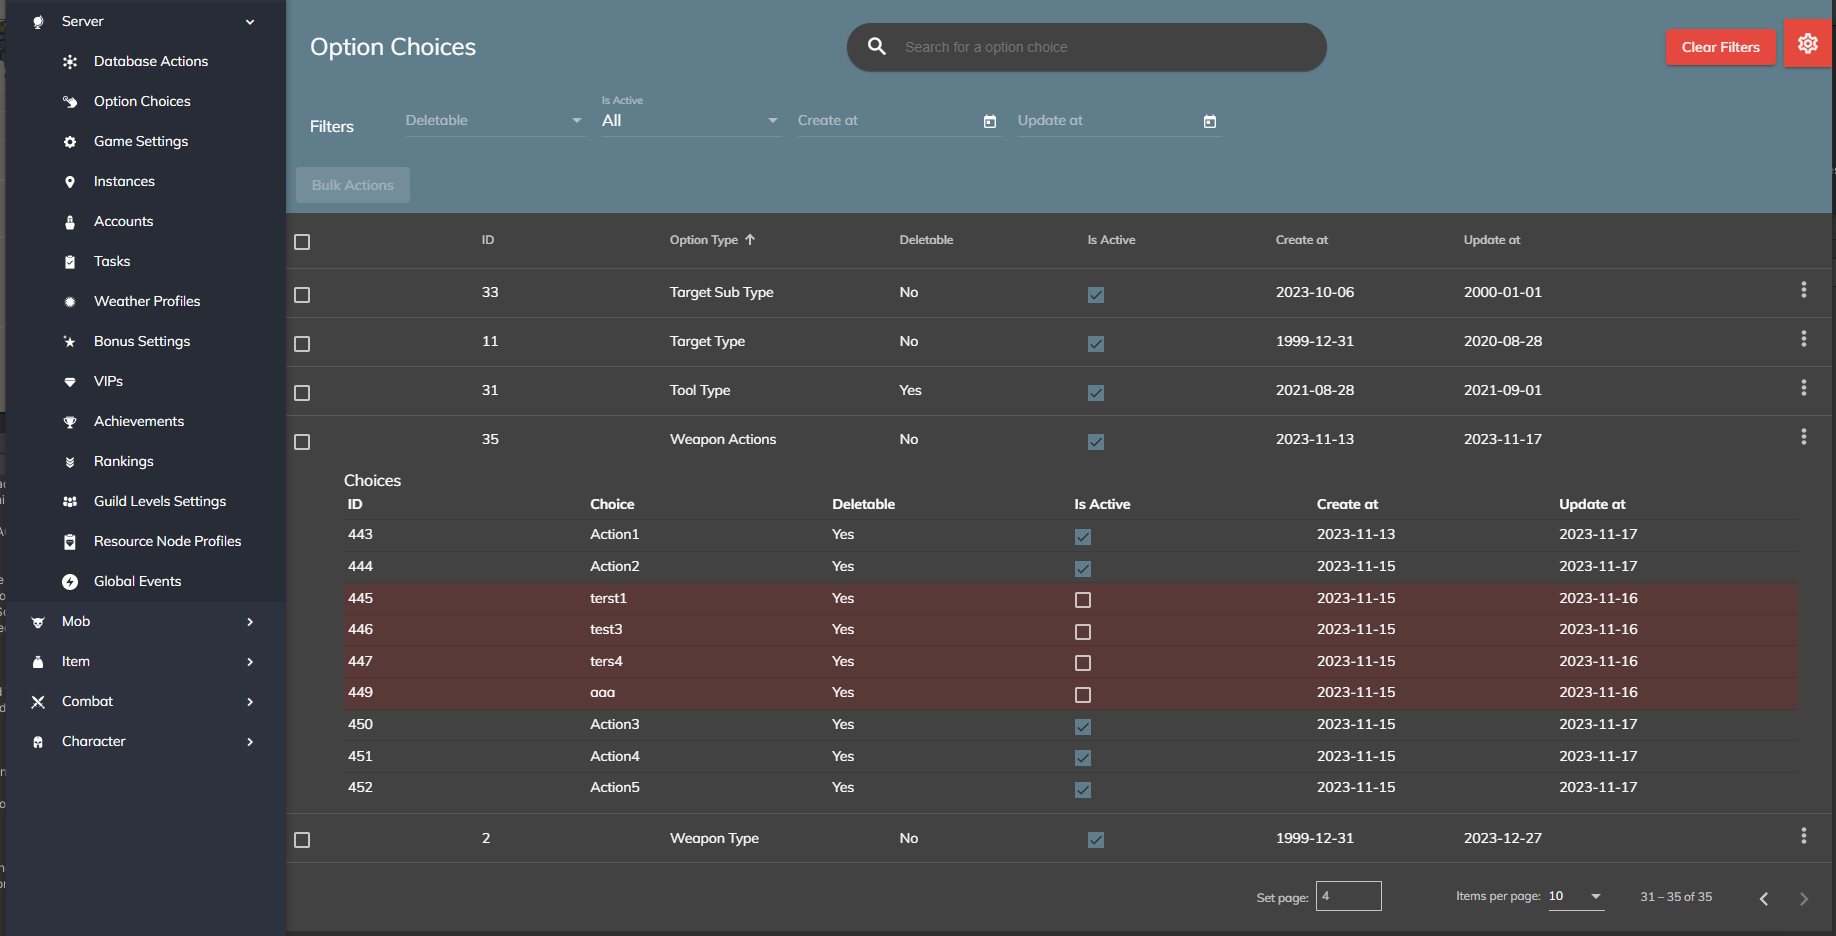
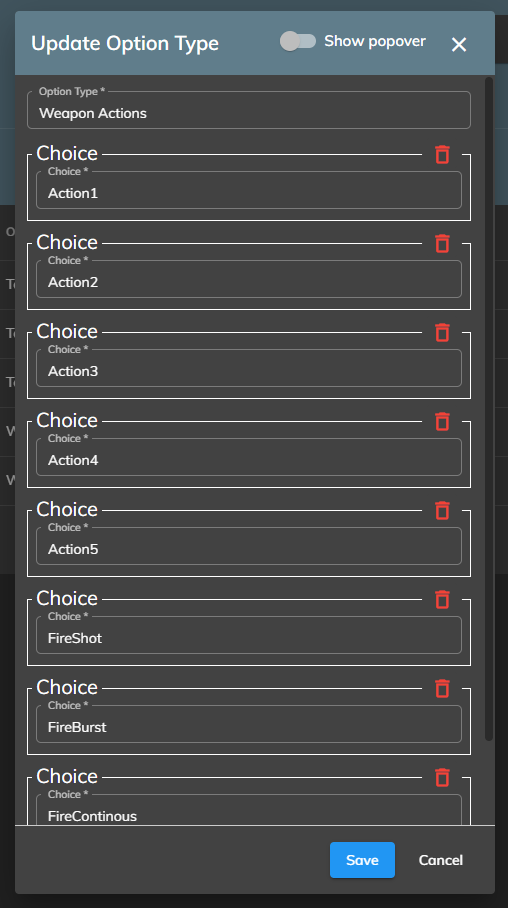
- Customizing Options Choice:
- Add new options to tailor the weapon’s behavior. Consider the distinct characteristics of weapons (like different firing modes for a pistol, gun, rifle) and assign options that reflect these differences.
- This customization is vital for switching profiles and utilizing various shooting abilities effectively.

- Integration with Unity:
- After setting up the profile, switch to the Unity environment and open your login scene.
- Locate the ‘Scripts’ object and find the action key options that correlate with your created option types.
- Assign action keys to enable the desired functionalities for each weapon.
- Setting up Weapons Action Key:
- This step involves binding specific actions to keys within the Unity environment.

Additional Technical Details
- Creating a New Behavior Profile:
- Define weapon profiles to specify abilities and keybindings.
- Assign a name and choose the action to bind (e.g., left or right mouse button).
- Configure this in the Login screen under Scripts -> Atavism Settings.
- Action List Generation:
- Based on entries in the Option Choices Module, a list of actions is generated.
- Slot and Action Type Configuration:
- Define the slot for weapon equipping and select the action type (Ability, Zoom, Coord Effect).
- For Zoom and Coord Effects, assign specific effects or camera actions.
- Combat Customization:
- Configure button actions for combat abilities, considering different slots and effects.
- Set up hand animations and coordinated effects for main and off-hand weapon usage.
- Include options for action-based zooming, enhancing ranged weapon interactions.
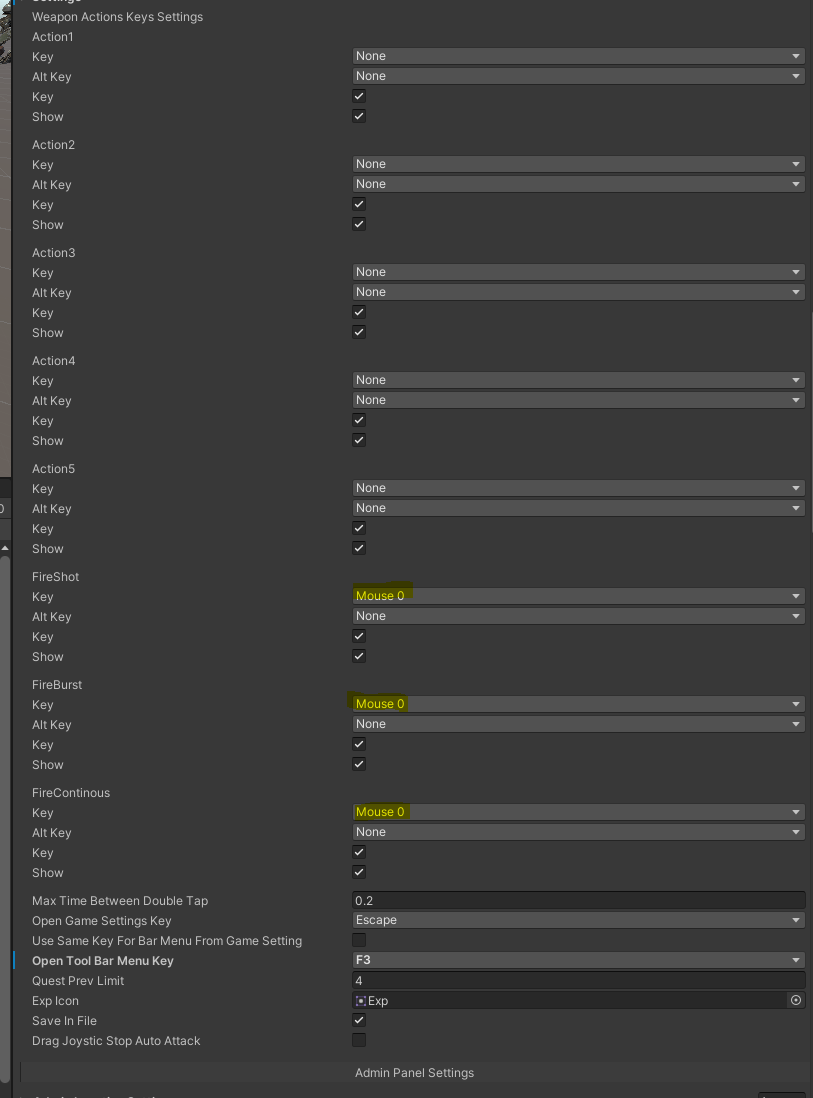
- Game Settings Integration:
- Add key binding options in the Editor for action visibility and customization in game settings.
- Implement alternative key binding options, allowing players to bind actions to multiple buttons simultaneously.
Conclusion
This comprehensive setup allows for a highly customizable and dynamic gameplay experience in Atavism Online X.9. By meticulously configuring weapon profiles, actions, and key bindings, players can achieve a more immersive and tailored combat experience. Remember to continually experiment and refine these settings to suit the specific needs and styles of your game environment.