In this lesson, you will learn how the Microsoft Identity Services integration works within the Unity Web Store system. You’ll also explore how to manage user accounts, add new site admins, and configure external authentication sources like Google.
This system allows for secure handling of user logins and personal data, all while ensuring that account management does not interfere with in-game login systems.
1. User Registration and Account Management
The Unity Web Store uses Microsoft Identity Services to manage user accounts and authenticate users. For this system to correctly display orders and match purchases with users, it is essential that players register with the same email address they use for their game account.
By registering with the same email, the system will link their game and store logins, allowing them to view all past purchases.
2. Account Management Features
Once users have registered and logged into the store, they have access to a variety of account management features:
- Download Account Data: Users can download their account data for personal use or to comply with data privacy laws.
- Two-Factor Authentication (2FA): Users can enable two-factor authentication for added security.
- External Login Sources: The system supports external login sources like Google, making it easier for users to sign in without needing to create a new account.
- Password Changes: Users can change their store password at any time. Please note that this does not affect their game login credentials.
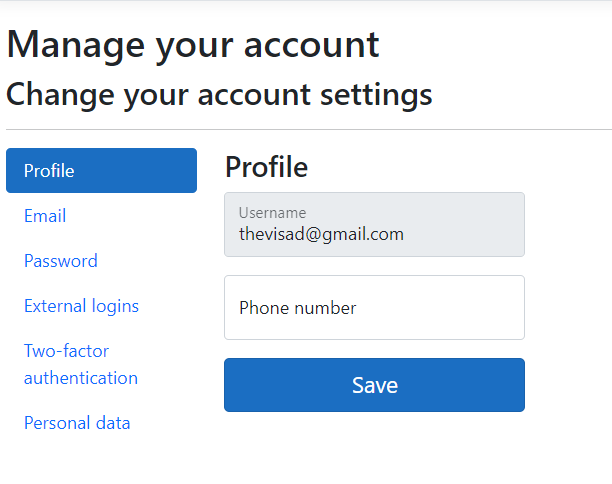
These features allow users to manage their accounts securely and conveniently while keeping their store and game accounts separate.
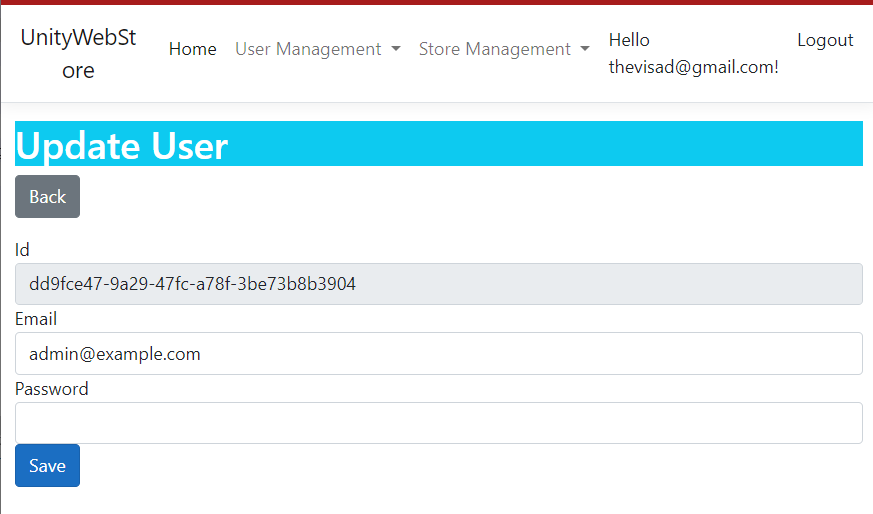
3. Managing Site Admin Accounts
As a site admin, you can manage other admins within the system. The default admin credentials when setting up the store are:
Username: admin

Password: 1JRTYxscxkVt7pP7zEiu
Important Security Step: It is highly recommended that you create a new admin account and promote it to the SiteAdmin role. After doing so, you should either delete the default admin account or change its password to something secure.
4. Adding a New Site Admin
If you want to add additional site admins to help manage the store:
- Log in with an existing site admin account.
- Navigate to the Role Controller.
- Locate the SiteAdmin role and assign it to the appropriate user from the user list.
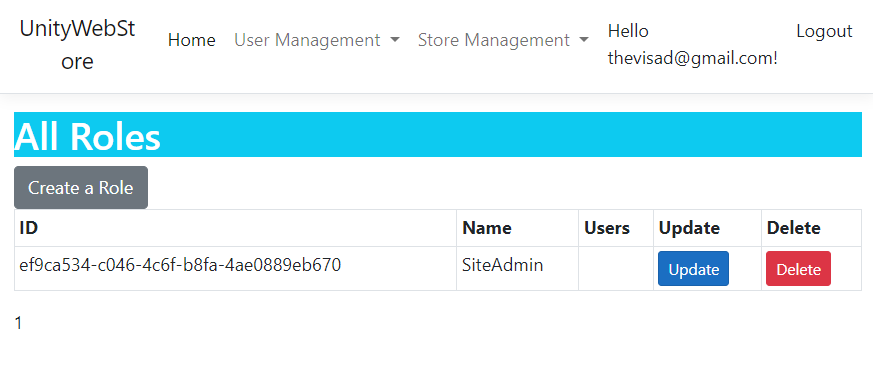
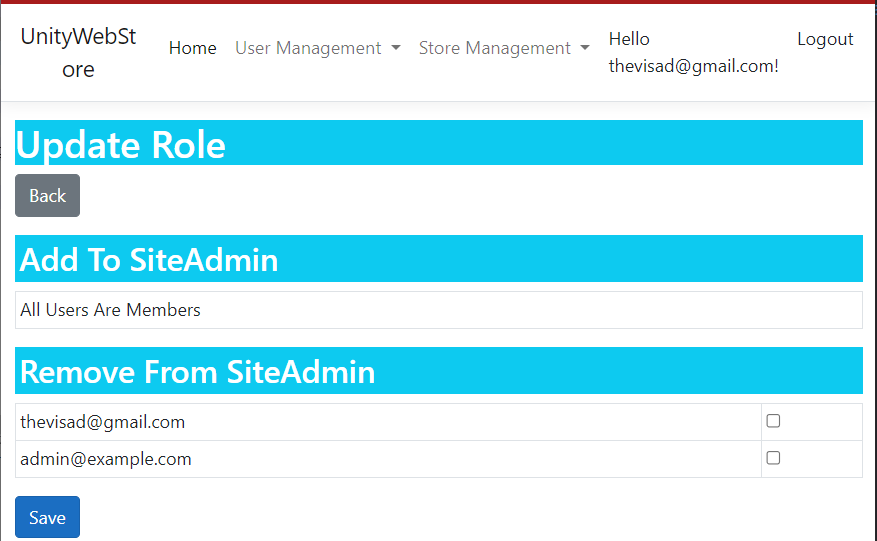
Be cautious when assigning this role, as users with SiteAdmin access have the ability to change site settings, including critical configurations and user data.
5. Best Practices for Admin Account Management
- Use Strong Passwords: Ensure that all admin accounts use strong, unique passwords to prevent unauthorized access.
- Enable Two-Factor Authentication: Encourage admins to enable two-factor authentication (2FA) for added security.
- Limit Admin Access: Only assign the SiteAdmin role to trusted users who require access to manage the store and site settings.
- Regularly Review Admins: Periodically review your list of site admins and revoke access for users who no longer need it.
Summary:
In this lesson, you learned how to manage user accounts and site admins using Microsoft Identity Services. You’ve also seen how to secure admin accounts and add new site administrators through the Role Controller. This system ensures that both user and admin accounts are managed securely without affecting game logins.