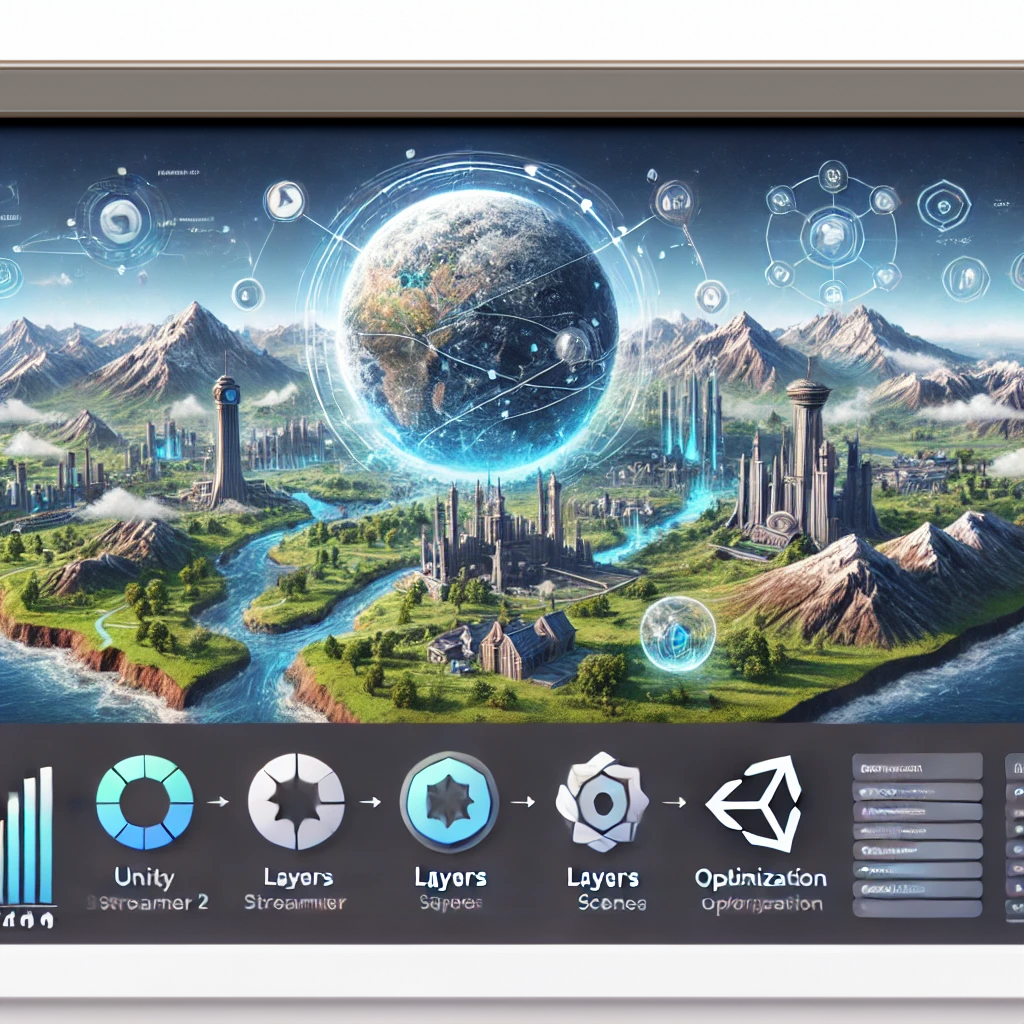
Comprehensive World Streamer 2 Setup for Unity

About Course
Unlock the full potential of your Unity projects with our World Streamer 2 Setup for Unity course. Designed for both beginners and experienced developers, this course provides a thorough, step-by-step guide to implementing World Streamer 2, ensuring your large and dynamic worlds run smoothly and efficiently.
Throughout the course, you’ll learn how to configure essential settings, including adding custom tags, enabling Incremental Garbage Collection, and defining your Game and Work Scenes. We delve deep into integrating World Streamer 2 prefabs, setting up build configurations, and optimizing terrain management through splitting and creating low-poly meshes for enhanced performance.
Advanced modules cover the creation and management of streaming layers, virtual grids, and scene objects, empowering you to handle complex environments with ease. You’ll also master collider streaming for interiors, ensuring that only relevant sections of your game world are loaded at any given time, thereby optimizing memory usage and maintaining high performance.
Additionally, the course explores seamless integration with popular tools like Digger, MicroSplat, Gaia Pro, and Crest. Learn how to troubleshoot common issues, reapply shaders, and manage lighting to maintain visual consistency across streamed scenes. By the end of this course, you’ll have a robust understanding of World Streamer 2 setup for Unity, enabling you to create expansive, immersive game worlds without compromising on performance.
Whether you’re developing an open-world adventure, a sprawling simulation, or any large-scale Unity project, this course equips you with the knowledge and skills to implement World Streamer 2 effectively. Enhance your game development workflow, optimize your project’s performance, and deliver an exceptional experience to your players with our comprehensive training.
Course Content
Implementation of World Streamer 2
-
Step 11: Creating Virtual Grids for World Streamer
-
Notes and Warnings About Using World Streamer with Other Tools
-
Final Steps and Considerations
-
Step 19: Setting Up the Lighting Manager
-
Step 18: Adding Collider Zones/Interiors to Streaming Layers
-
Step 17: Setting Up Collider Streaming for Interiors
-
Step 16: Adding Streaming Scenes to Build Settings
-
Step 15: Defining Loading Ranges for Streaming Layers
-
Step 14: Configuring Scene Collection Managers’ Parameters
-
Step 13: Manually Populating WorldStreamer Prefabs Z(If Needed)
-
Step 12: Generating Scene Objects from the Virtual Grid
-
Step 1: Adding New Tags to Your Project
-
Step 10: Configuring Streaming Layer Parameters
-
Step 9: Setting Up Streaming Layers
-
Step 8: Creating Low Poly Meshes for Optimized Rendering (Optional)
-
Step 7: Splitting Your Terrains
-
Step 6: Defining Your Work Scene (Optional)
-
Step 5: Configuring Build Settings with the Game Scene
-
Step 4: Adding World Streamer Prefabs to the Game Scene
-
Step 3: Defining Your Game Scene
-
Step 2: Enabling Incremental Garbage Collection (GC) in Project Settings
Student Ratings & Reviews

